
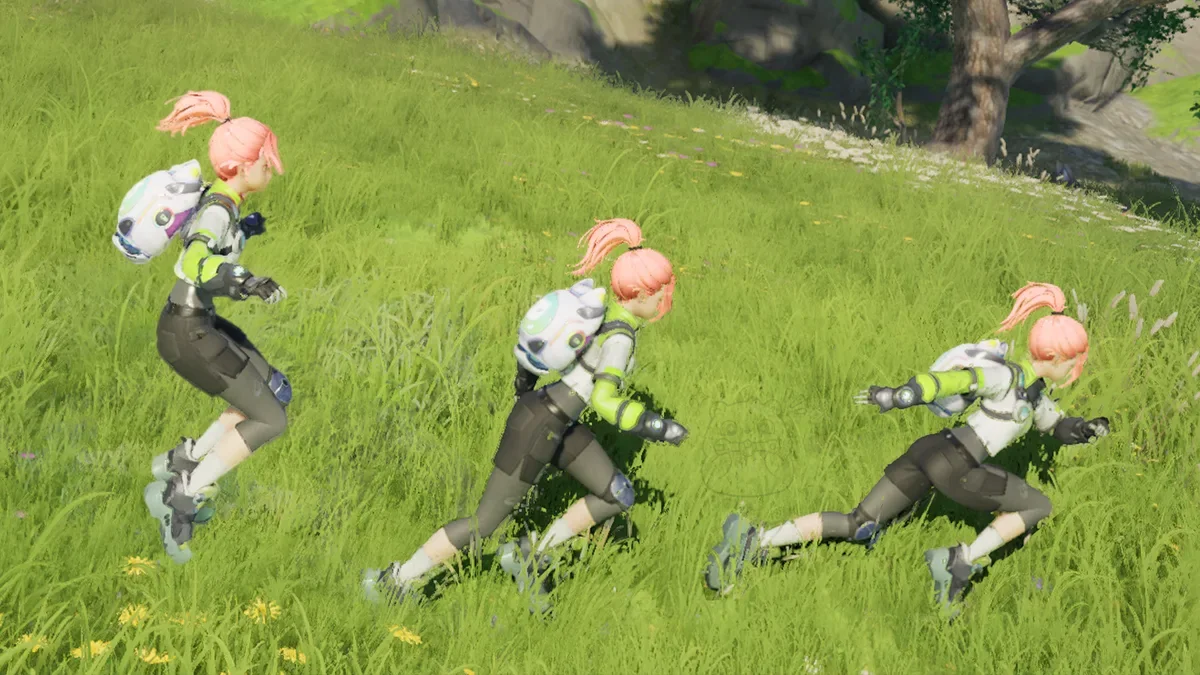
Use the joystick to move your character. Use the Jump and Dash buttons to perform actions.
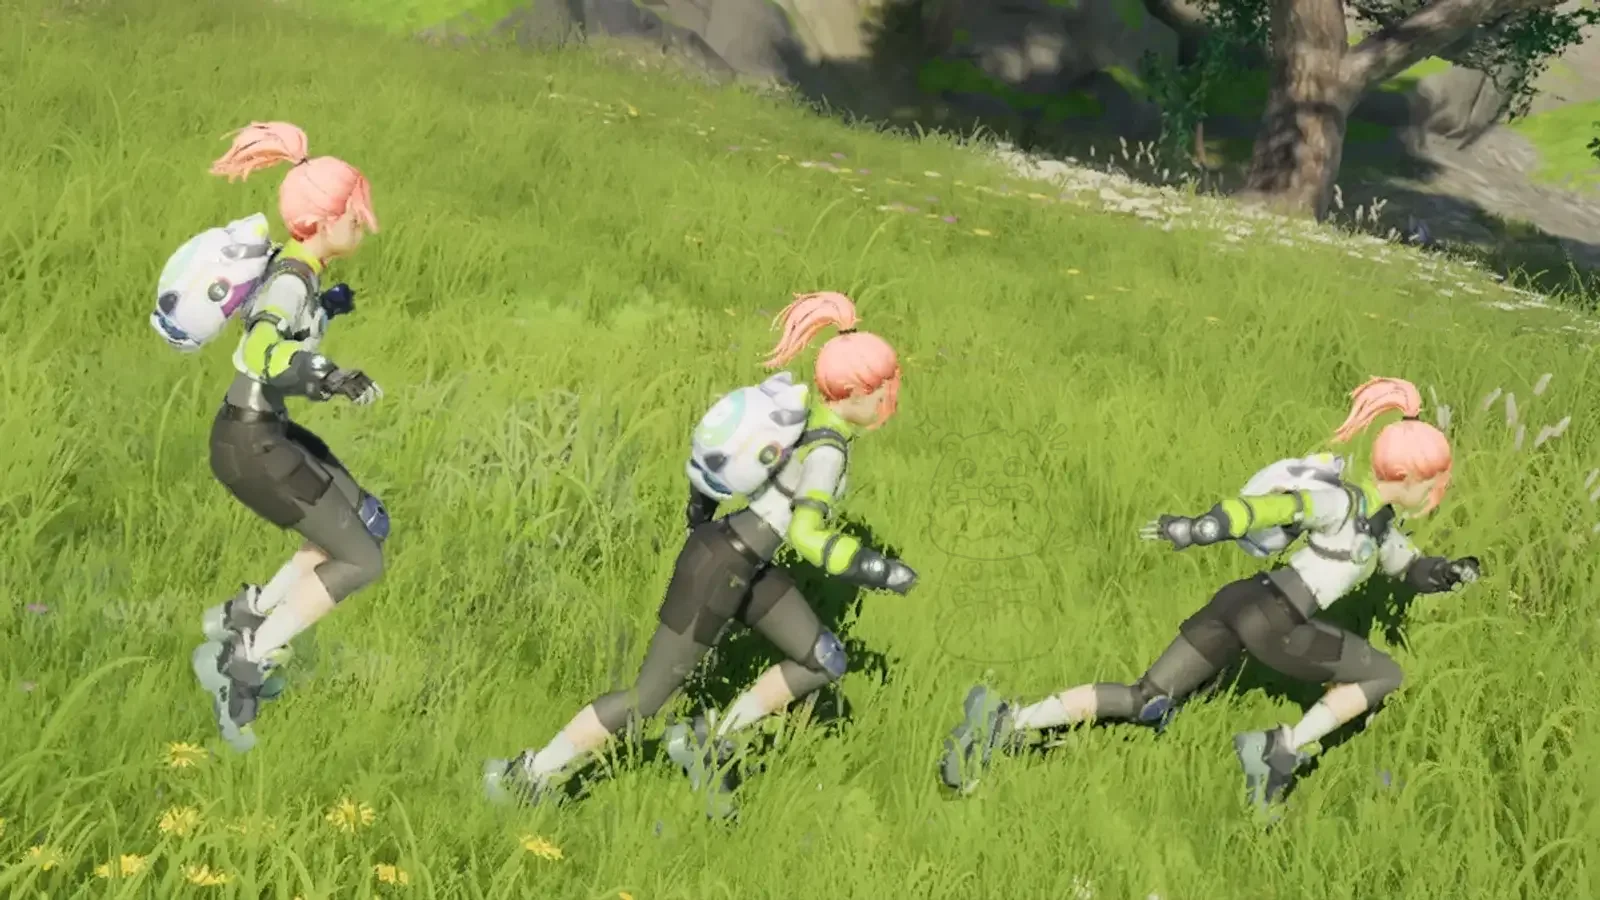
Help screen · Combat tab
The Combat tab of the in-game Help screen holds 47 entries: the two modes, BREAK, Lock On, counters and roles, then the game's own advice for every Alpha and Omega you can meet, for Operation: Egg Heist, and for each regional Assessment.
47 entries·72 help pages

Combat · The basics
1 page
Use the joystick to move your character. Use the Jump and Dash buttons to perform actions.
Combat · The basics
2 pages
Press and hold an Aniimo avatar and drag it to the party panel on the left. Each party can include up to four Aniimo.
Select an Aniimo avatar to switch that Aniimo into battle. This also works in Twine Mode.
Combat · The basics
1 page
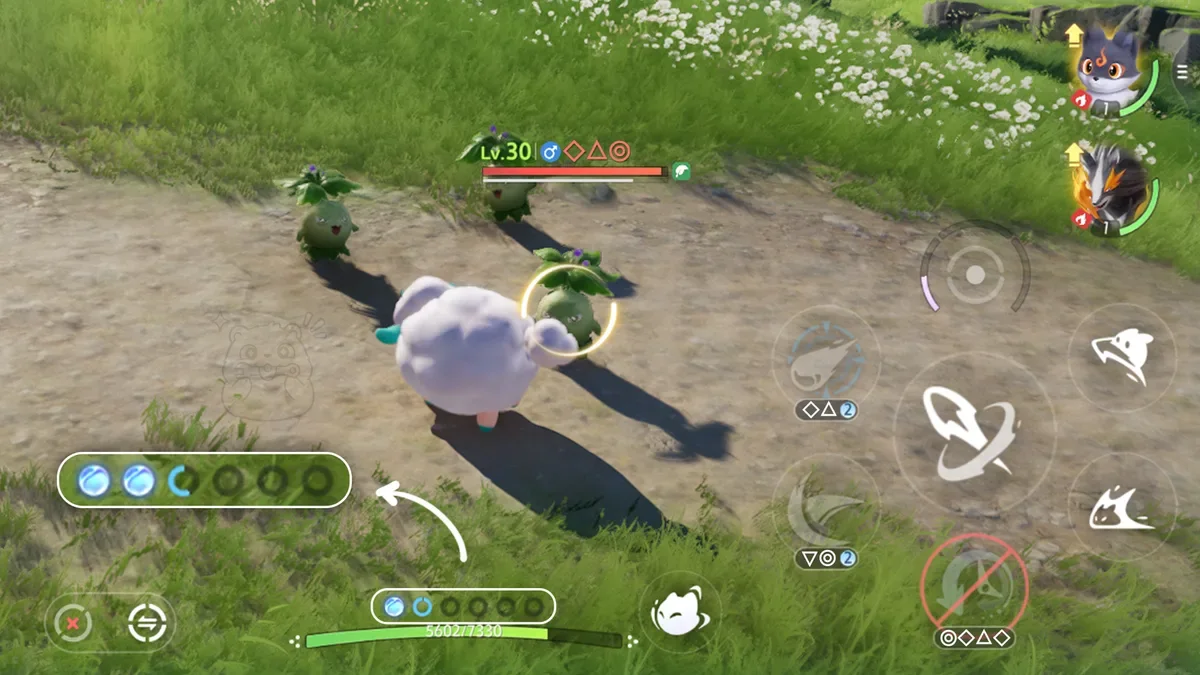
In Twine Mode, you can control your Aniimo directly and attack enemies to deal damage.
Combat · The basics
3 pages
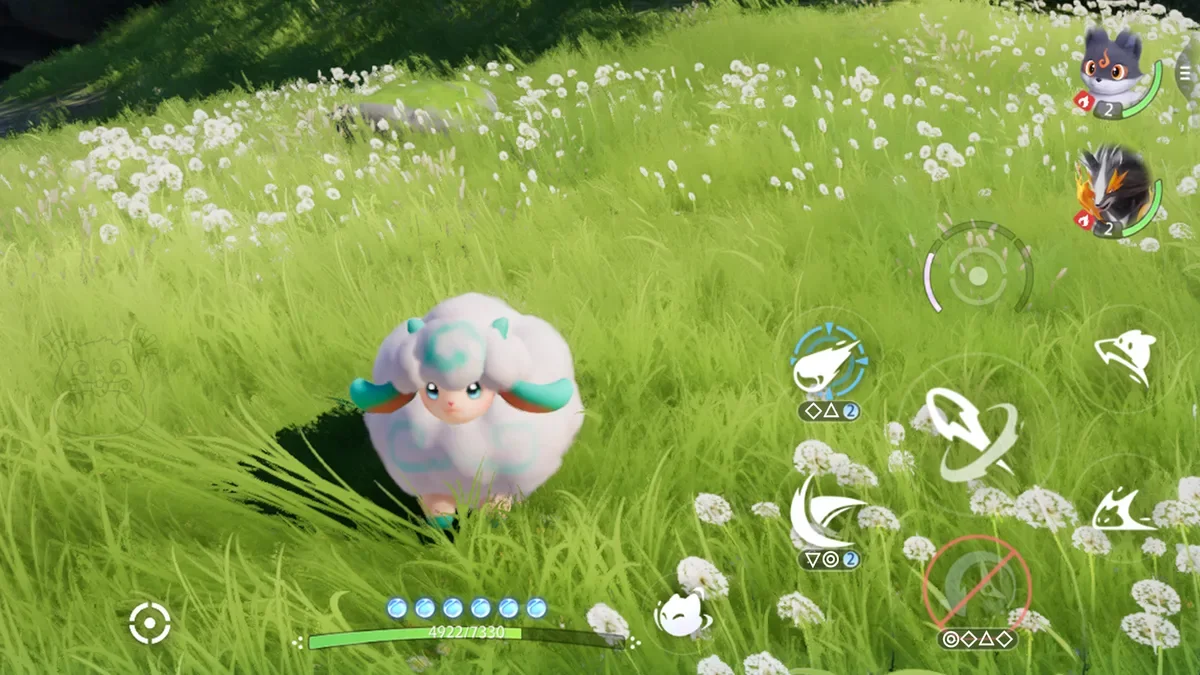
EP appears under the Aniimo status bar as six blue energy orbs.
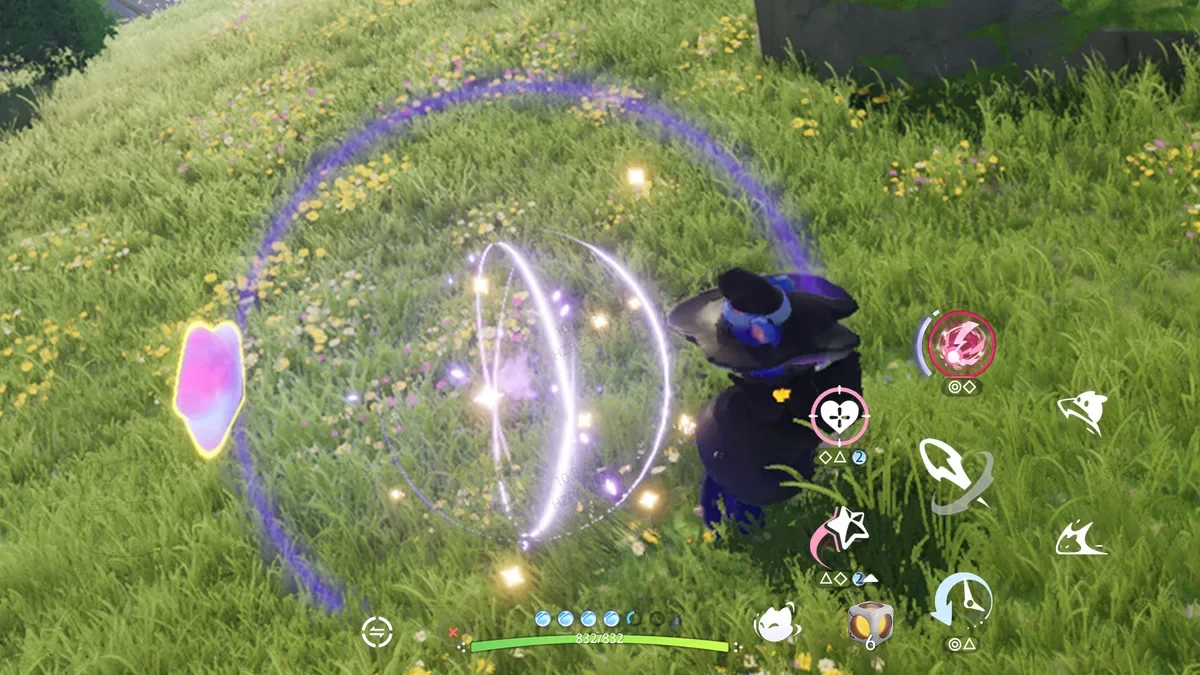
When EP is sufficient, skills will light up. In Twine Mode, press the Skill button to control the Aniimo and use different skills. Using skills consumes EP, while basic attacks restore it.
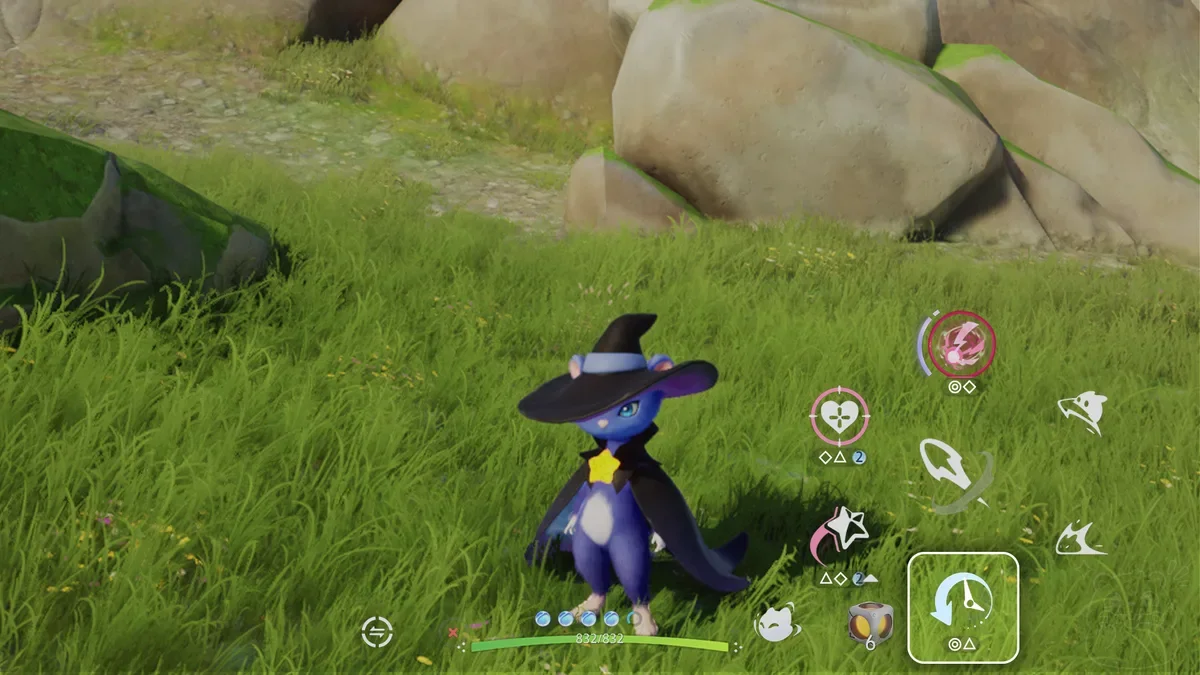
Some Aniimo have unique Mobility. Press the Mobility button to control your Aniimo and activate it. Mobility does not consume EP.
EP is shared by the whole team.
Combat · The basics
1 page
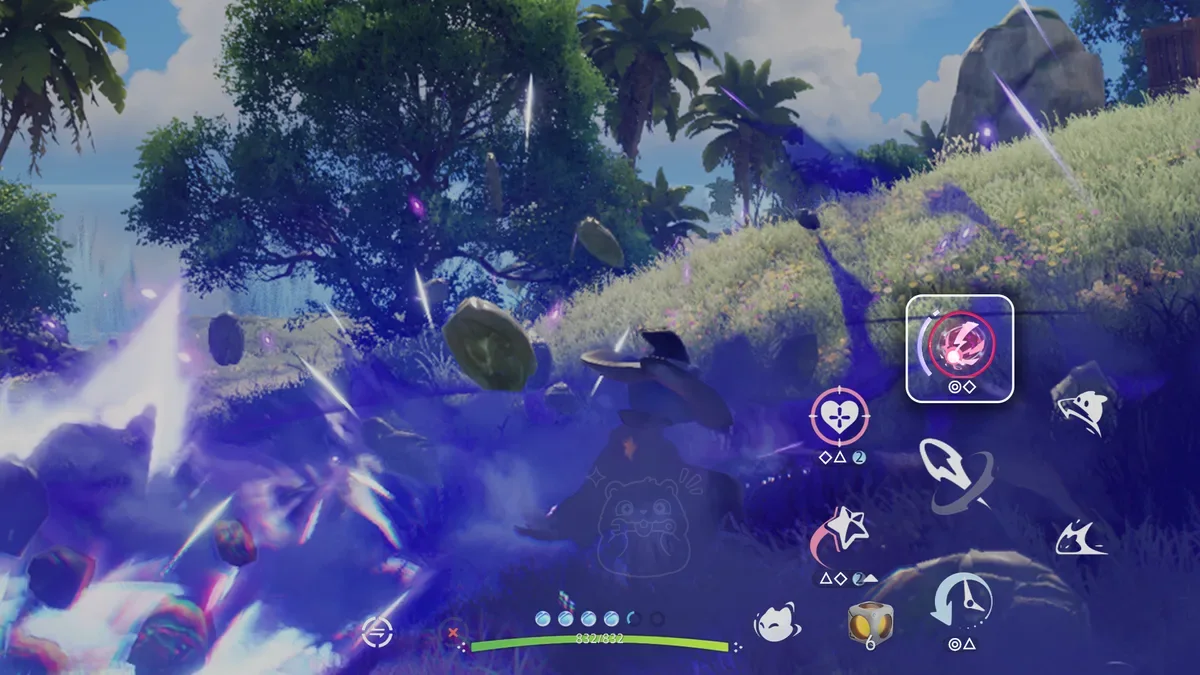
The Ultimate Point gauge appears around the Ultimate icon. When the gauge is above one segment, press Ultimate to spend it and unleash a powerful Ultimate. Using Aniimo skills can restore Ultimate Points. You can store up to three segments.
Combat · The basics
1 page
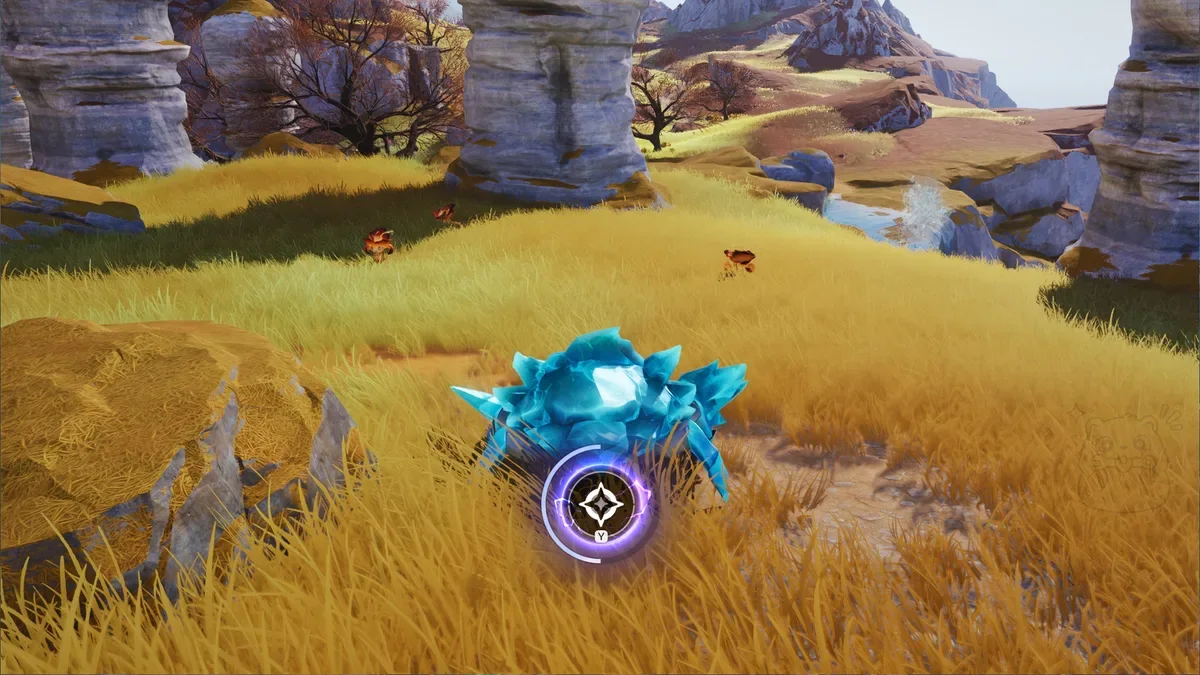
When more than 2 Pathfinders are in a party, after one Pathfinder uses an Ultimate, Chain Timing will appear for the other Pathfinders. Using an Ultimate during Chain Timing counts as a successful chain. When more than 2 Pathfinders successfully chain, a powerful Chain Burst will be triggered after the chain ends, dealing massive damage.
Chain Ultimate will not trigger in Operation: Egg Heist.
Combat · The basics
1 page

For aiming skills, press and hold the corresponding skill button to enter Aim mode. While aiming, you can adjust your target by moving the camera. Release the skill button to fire the skill in your chosen direction.
Combat · The basics
4 pages
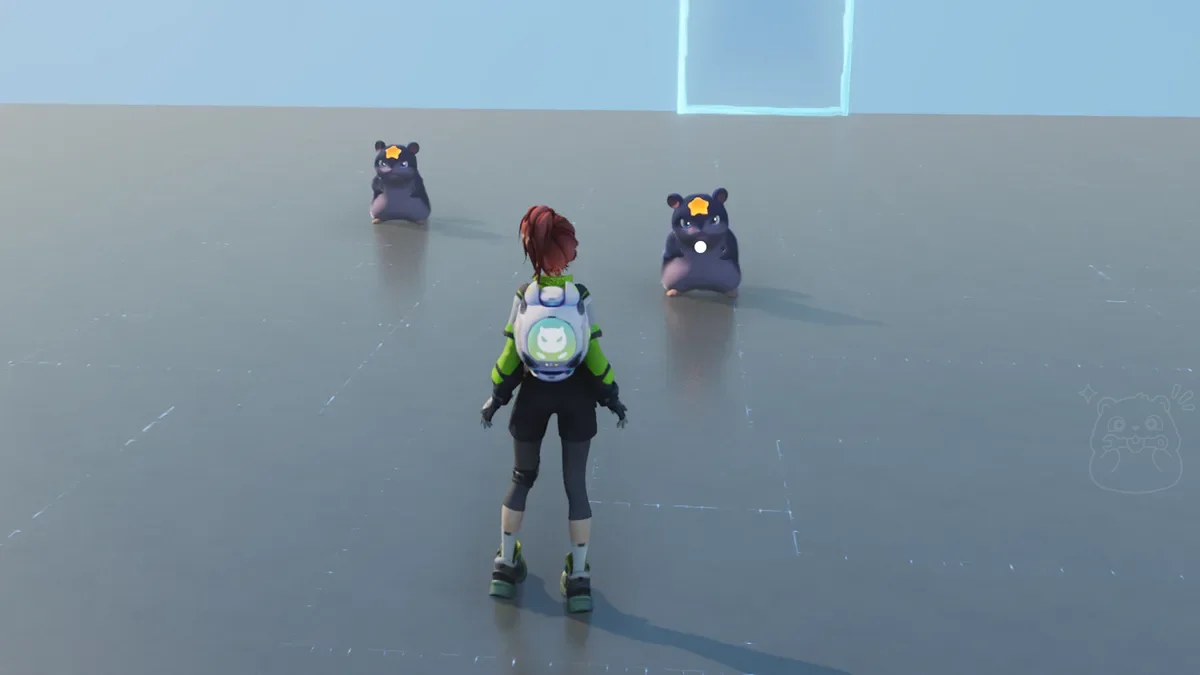
When you are not in lock-on status, moving near a target will show an auto-aim marker on the nearest target. Attacks will automatically aim at the marked target.
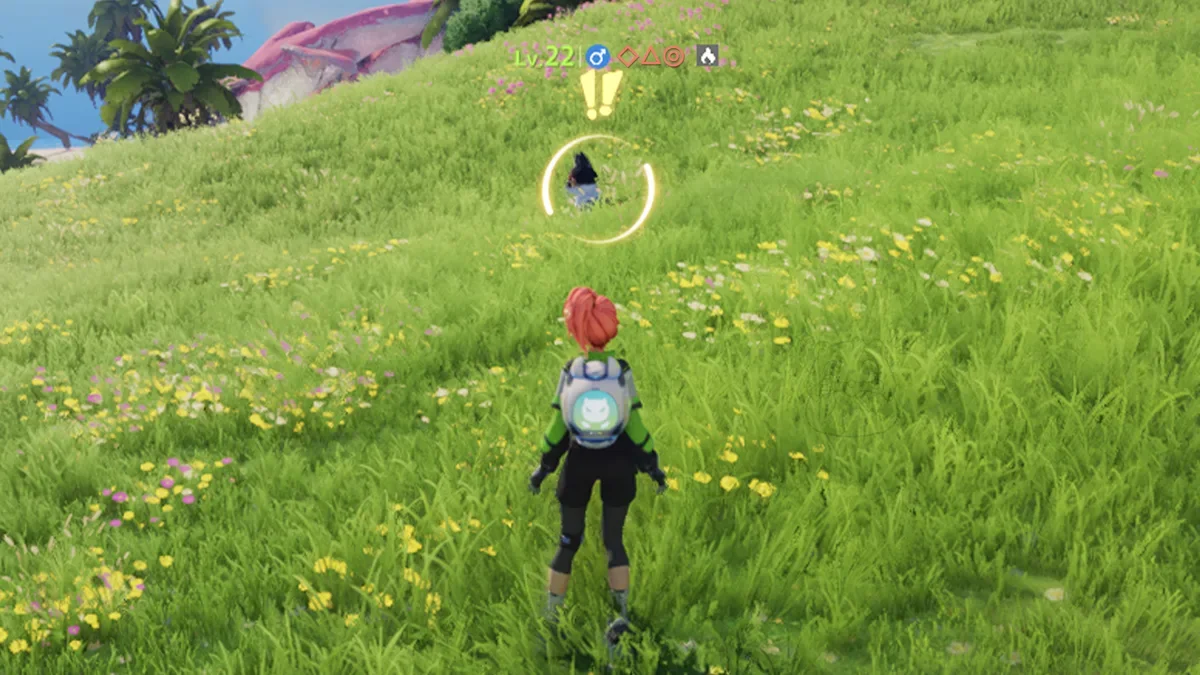
Press the [Lock On] to lock on to the current aimed target and enter lock-on status. While locked on, the target will not switch automatically based on distance. Attacks will keep aiming at the locked target.
Press [Switch] to switch locked-on targets.
Press[Cancel Lock-On] to cancel lock-on.
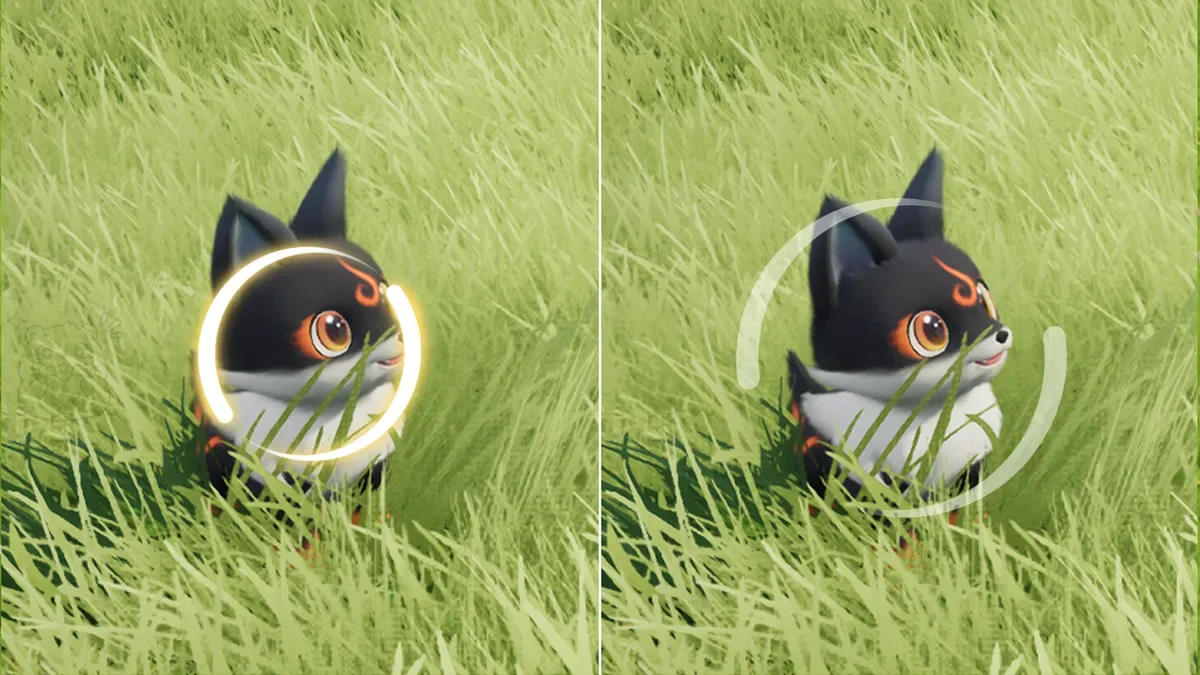
When the target is within attack range, the lock-on circle will highlight, and ranged attacks can auto-aim at the target.
When the target is outside attack range, the lock-on circle will turn gray, and ranged attacks cannot auto-aim at the target.
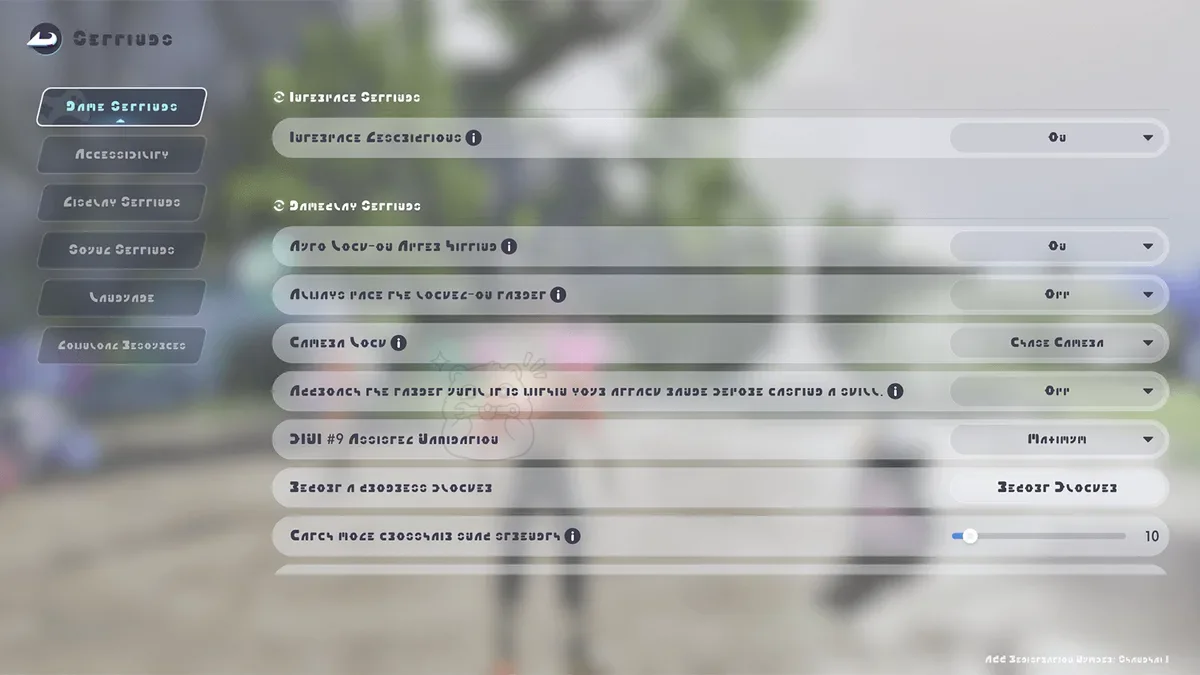
You can change lock-on settings at any time in Settings, including Lock-On Mode, Camera Mode, and Smart Cast.
Combat · The basics
1 page

There are two lock-on modes:
Manual lock-on: When you are not in lock-on status, press Lock On to lock onto the current target and enter lock-on status.
Auto lock-on: When you are not in lock-on status, hitting a target will automatically lock onto it and activate lock-on status.
You can change lock-on mode at any time in Settings.
Combat · The basics
1 page
Aniimo and their skills have elemental differences that create counters. Use them wisely to deal more damage.
Combat · The basics
1 page
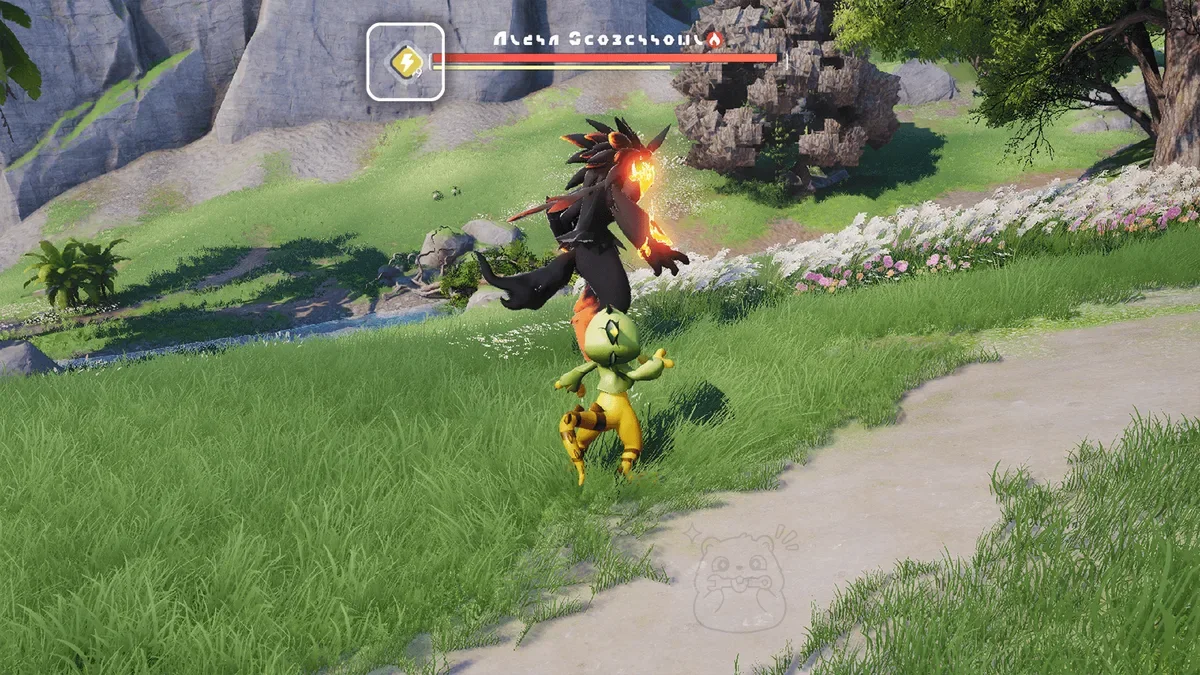
Some skills build the target’s elemental debuffs for their corresponding element. Elemental debuffs lower the matching elemental resistance and stack up to 20 times. Debuff buildup decreases over time, and the more debuff stacks there are, the faster the buildup drops. The world’s environment and weather can also build elemental debuffs.
Combat · The basics
2 pages
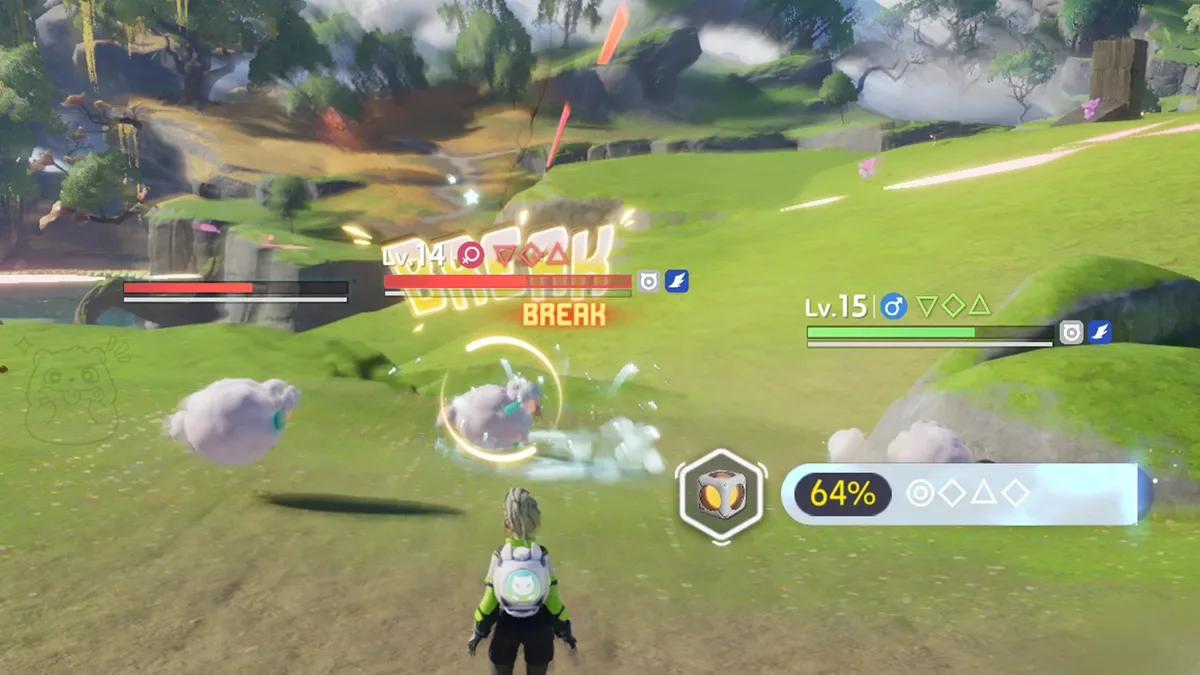
When you attack an Aniimo, the yellow BREAK gauge under its status bar will keep decreasing. Once the gauge reaches zero, the Aniimo enters the BREAK state, becoming unable to act and ready to be caught. Press Quick Catch to catch it immediately.
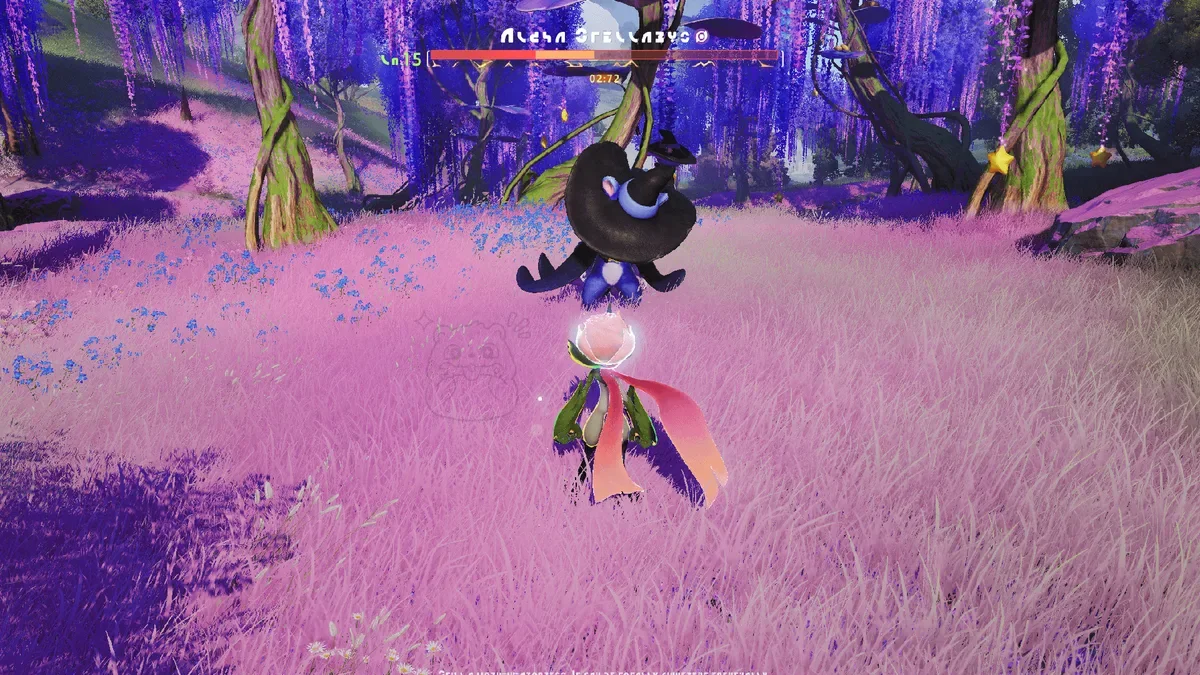
After Alpha and Omega Aniimo leave BREAK state, they enter BREAK Recovery state until their BREAK gauge fully recovers. While in BREAK or BREAK Recovery state, they take greatly increased damage.
Combat · Modes and roles
1 page
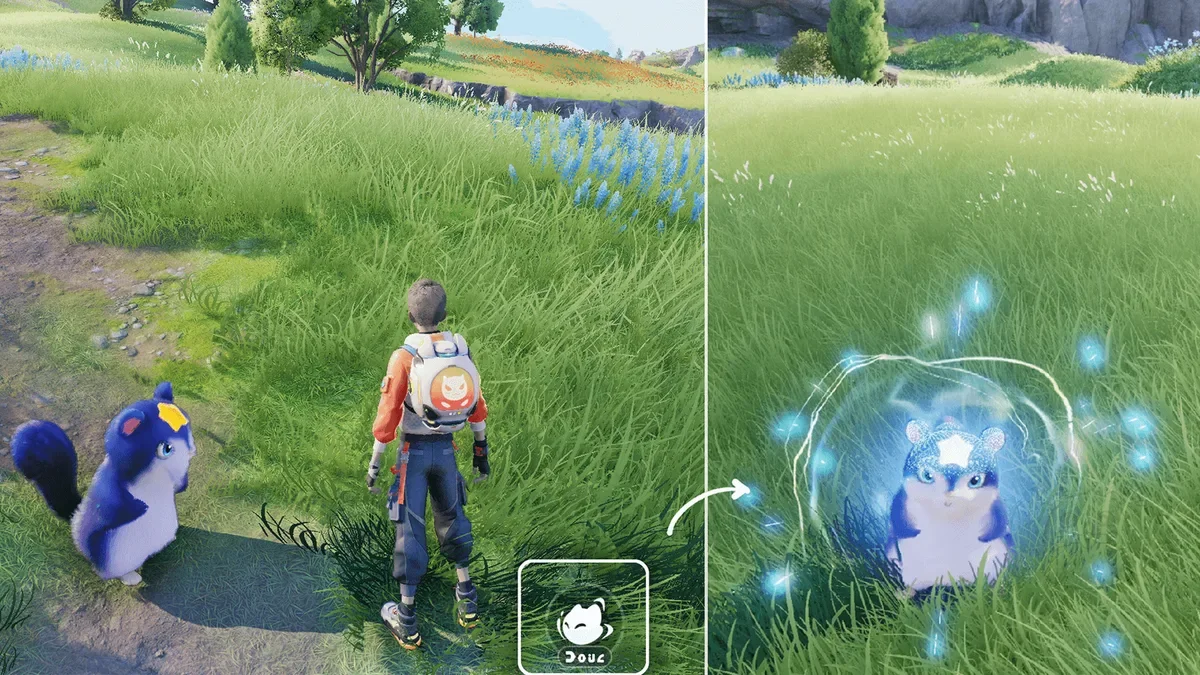
Press the Twine button to enter Twine Mode with your Aniimo. Press the Twine button again to untwine. In Twine Mode, your character takes the form of an Aniimo and can move and use skills as that Aniimo.
Combat · Modes and roles
2 pages
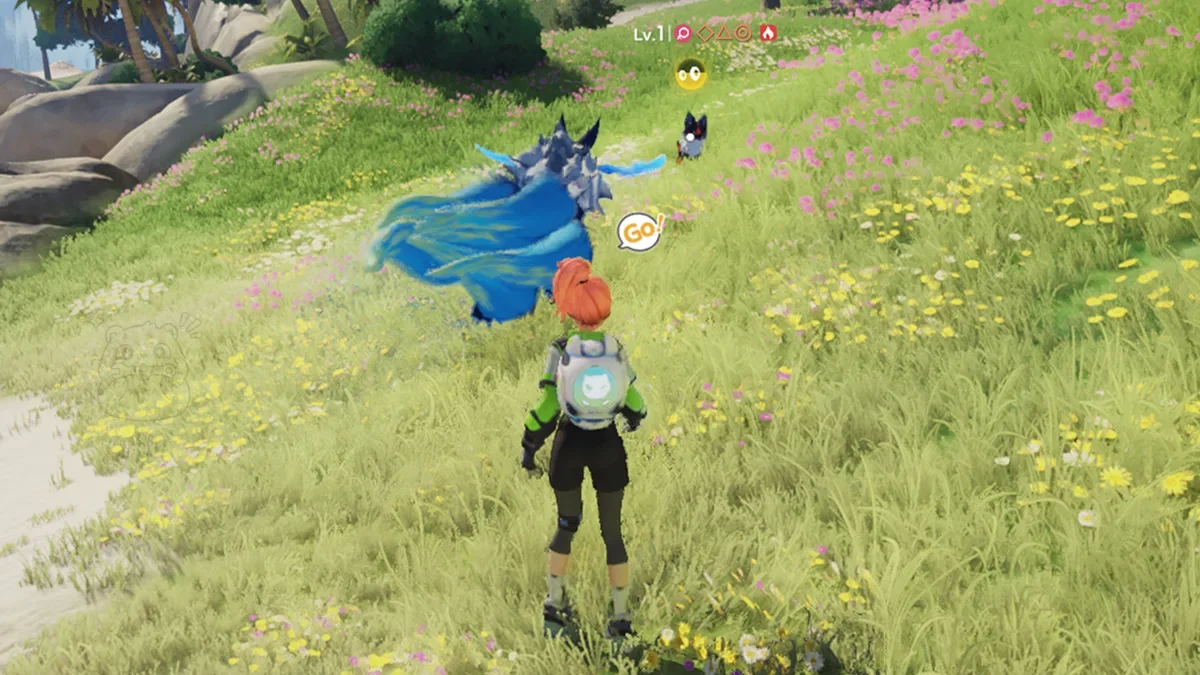
In Command Mode, if there is an attackable locked-on target ahead, use the to give a command. Your active Aniimo will then fight automatically in the direction you command.
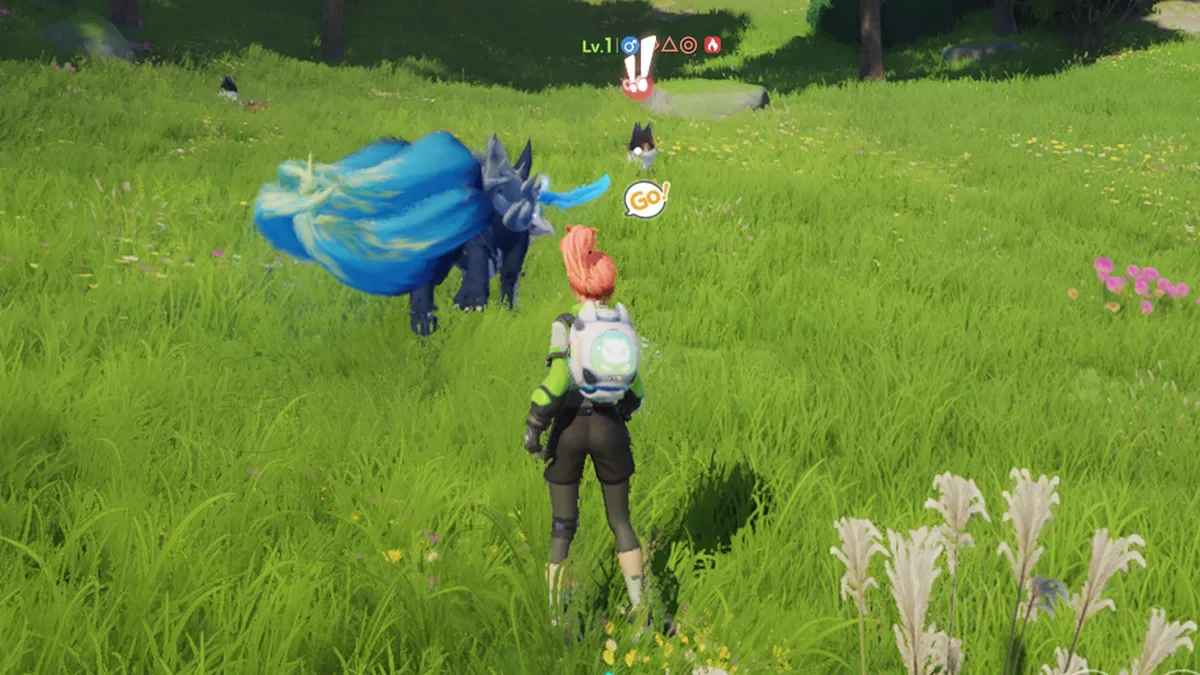
After Switching targets, press again to issue a command. The deployed Aniimo will then fight automatically according to the Pathfinder’s new command direction.
Combat · Modes and roles
2 pages
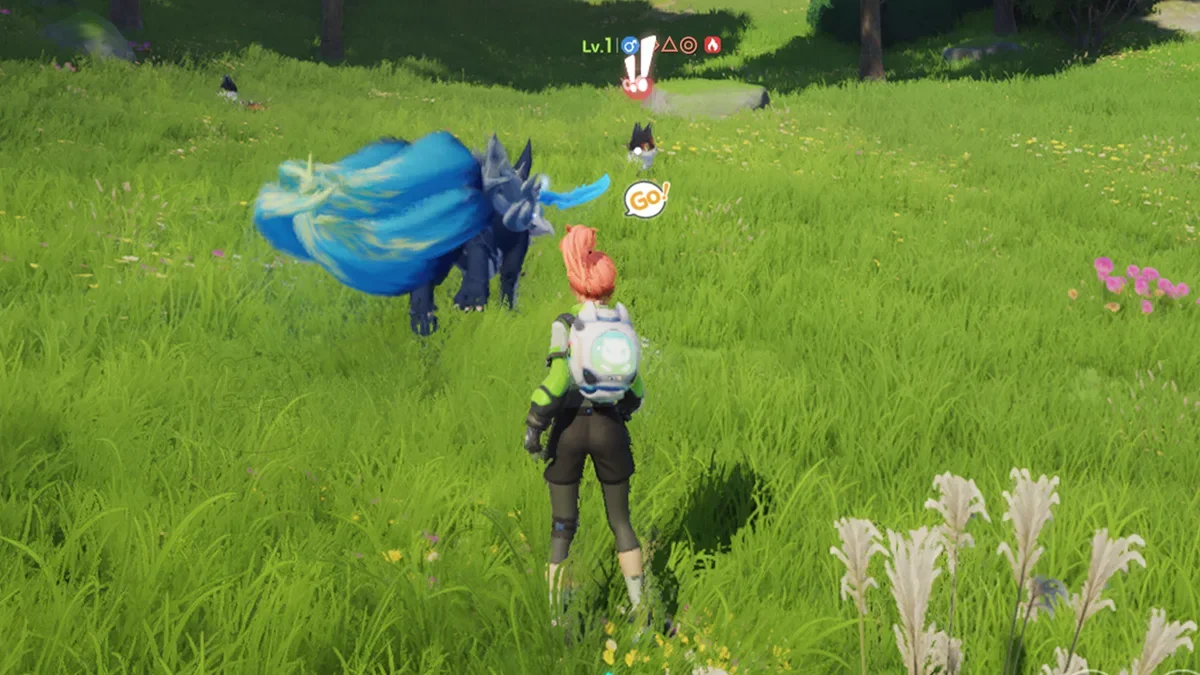
In Command Mode, if there is an attackable locked-on target ahead, press Attack to give a command. Your active Aniimo will then fight automatically in the direction you command.
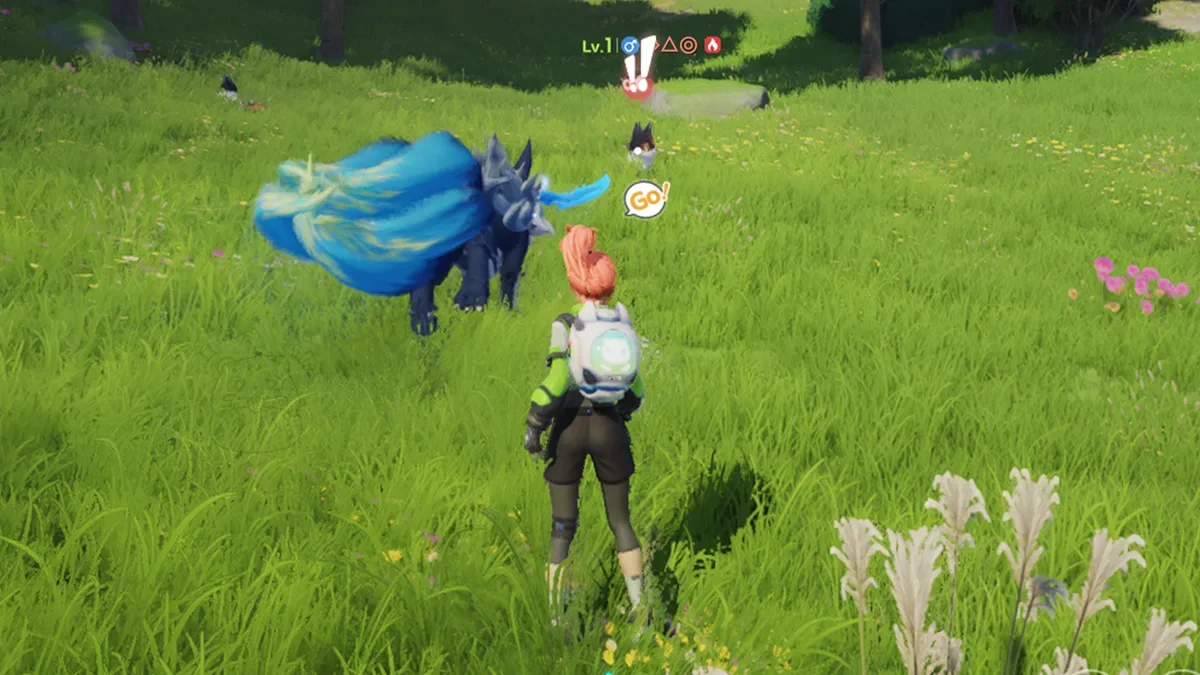
After switching targets, you can tap the Attack button again to issue a command. The active Aniimo will then automatically attack in the Pathfinder’s new command direction.
Combat · Modes and roles
1 page
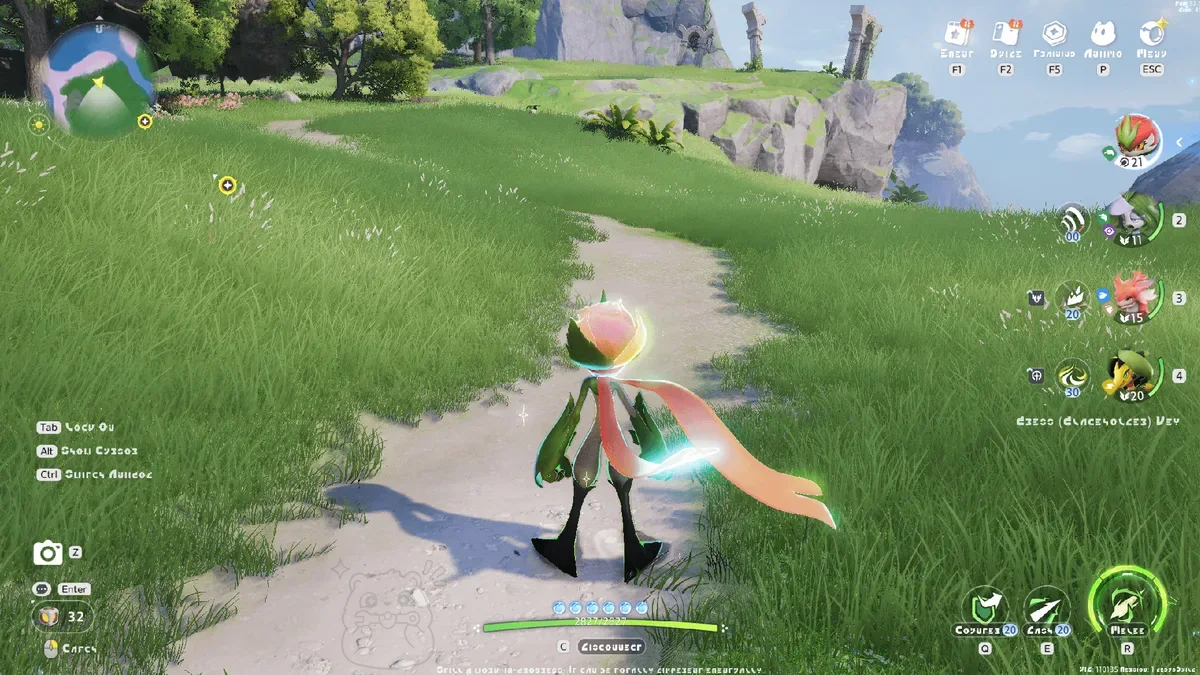
In Solo Combat Mode, you can freely switch between 4 Aniimo and use all of their skills. This mode is used for world exploration and solo gameplay.
Combat · Modes and roles
1 page
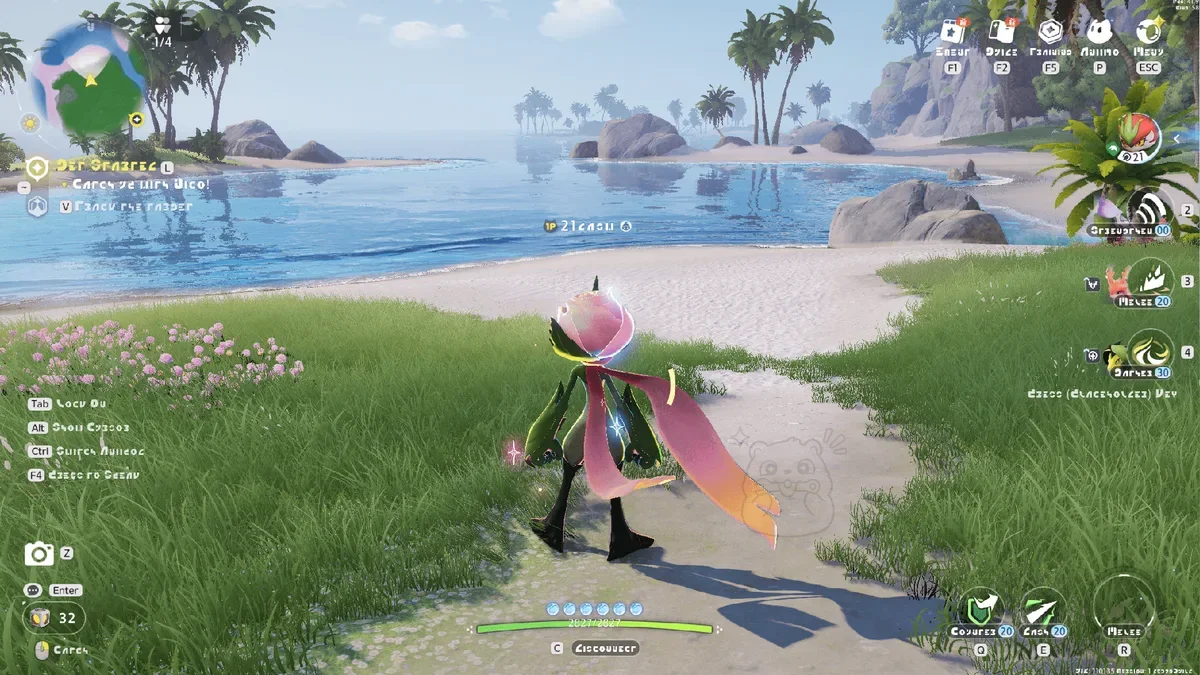
In Team Combat Mode, only the first Aniimo in your party acts as the main active Aniimo. The other three can only support briefly by using core skills, after which you will automatically switch back to the main active Aniimo. This mode is used for team gameplay, such as Holo-Battle Interlink and Operation: Egg Heist.
Combat · Modes and roles
2 pages
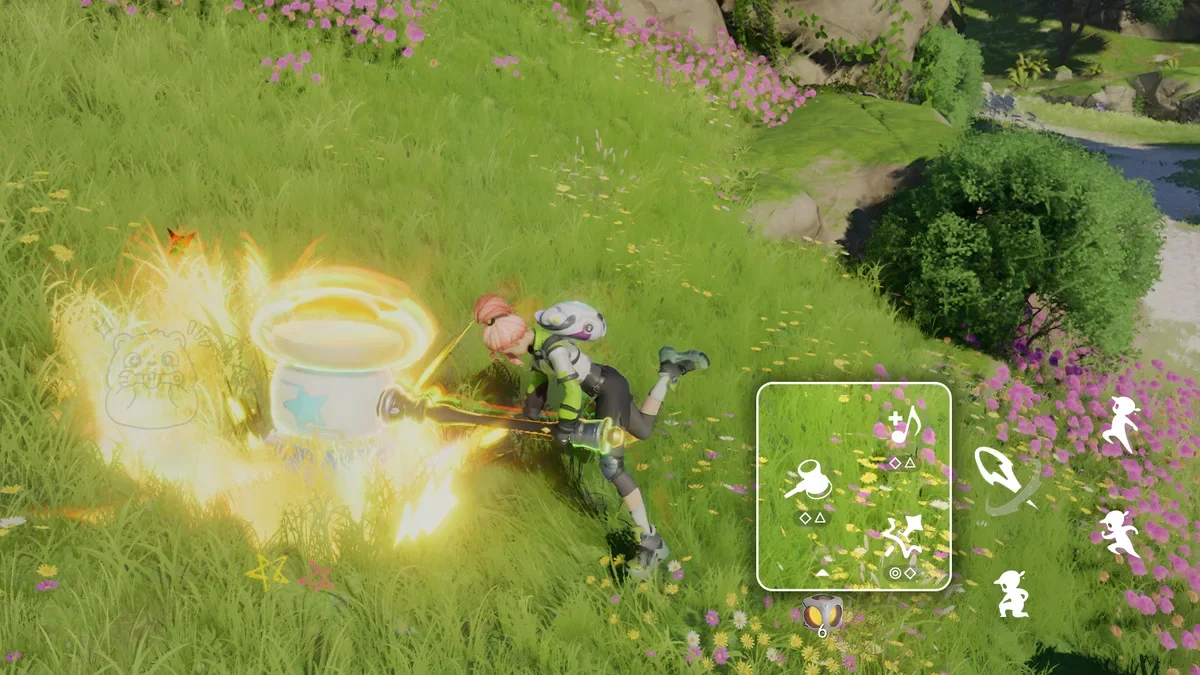
In Command Mode, press a skill button to use an Active Skill.
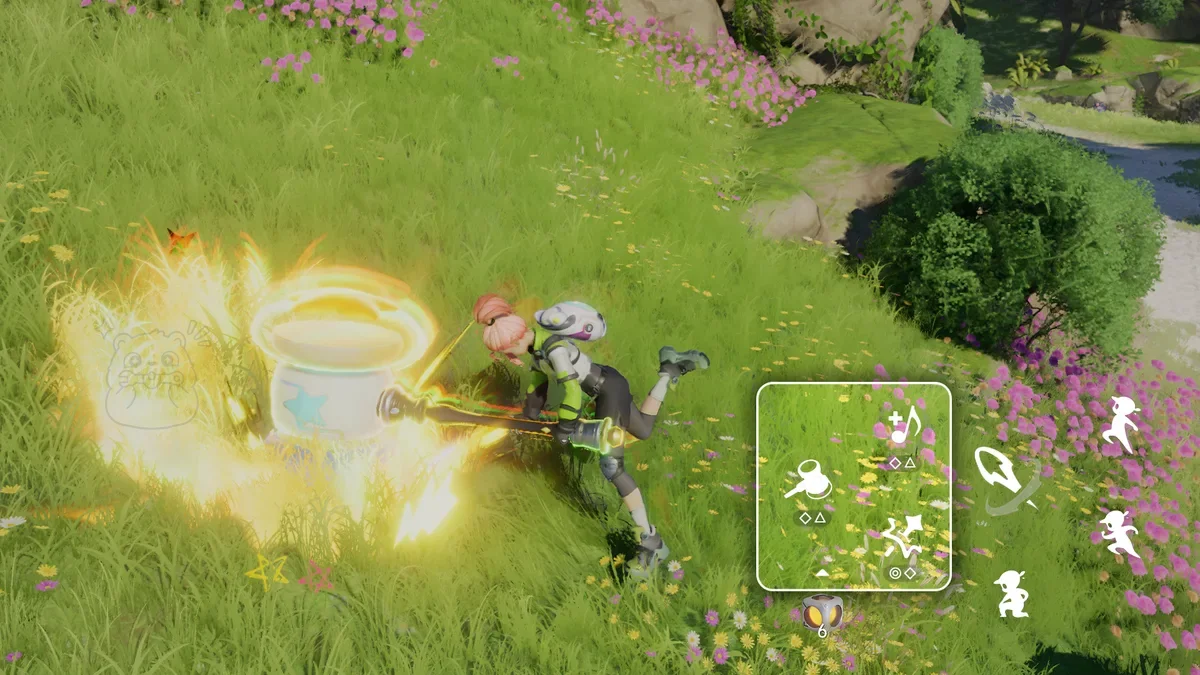
You can switch Active Skills in the Pathfinder Skill Setup interface. Here, you can set up both combat skill sets and Mobility skill sets. Combat skill sets are used in battle, while Mobility skill sets are used out of battle.
Combat · Modes and roles
5 pages
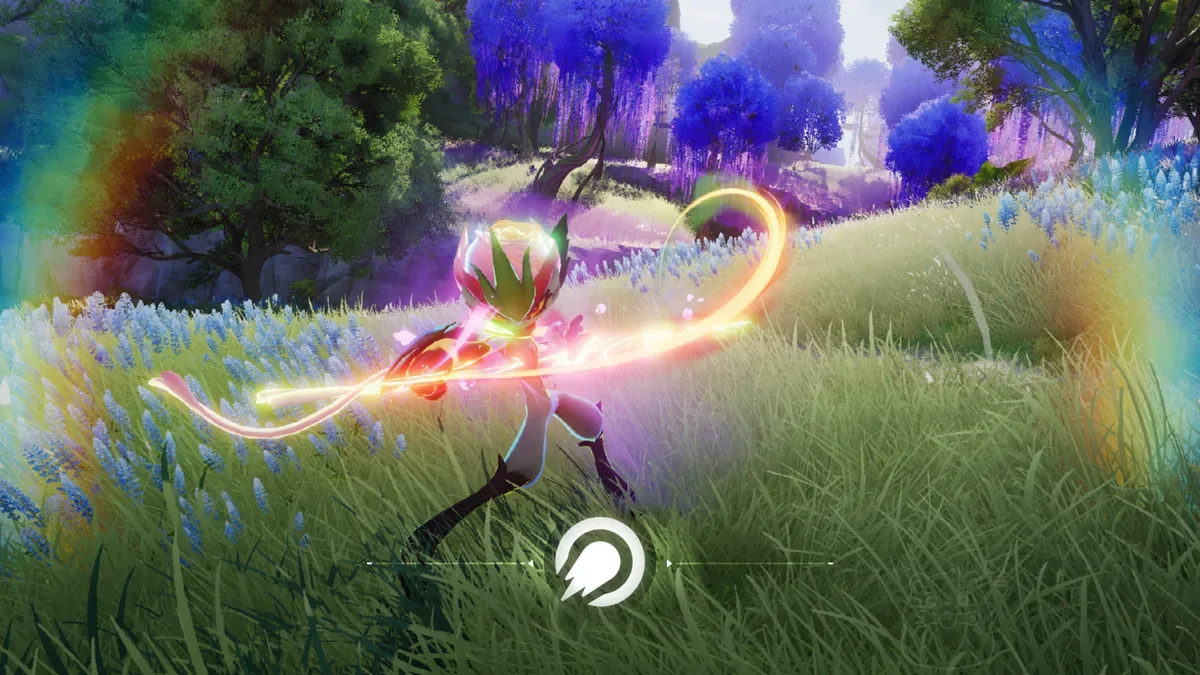
Aniimo have five roles, each with its own strengths:
DPS: Focuses on dealing heavy HP damage. They work best when switched in while the target is in BREAK.
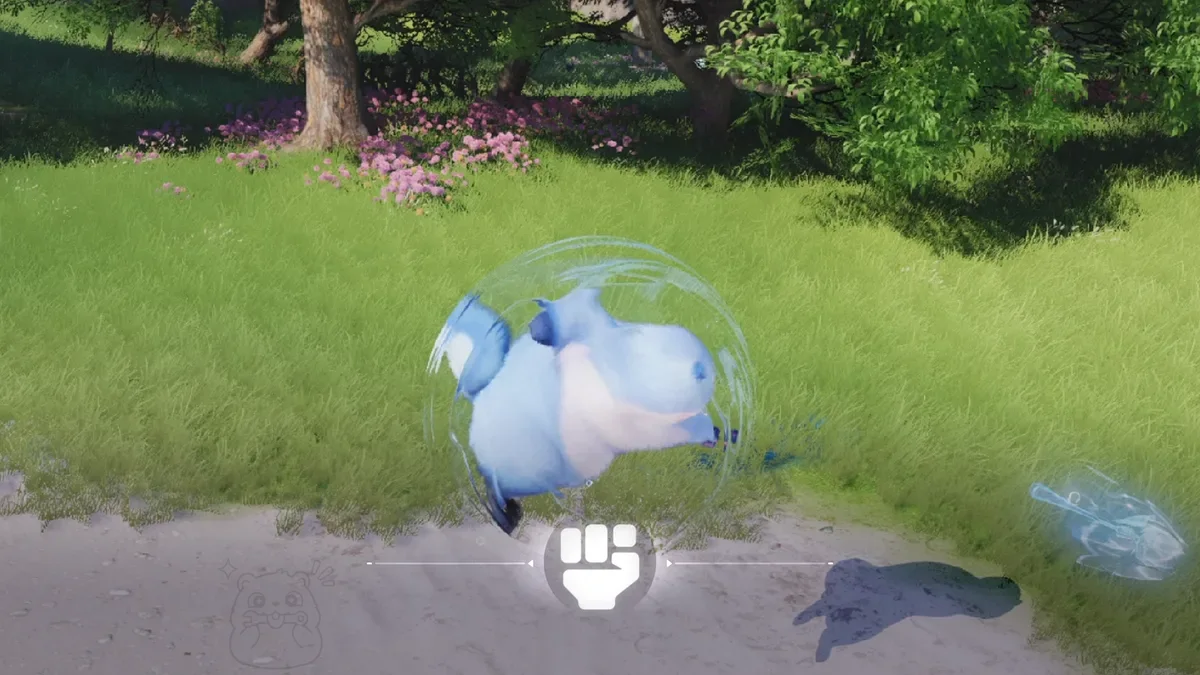
BREAK: Focuses on quickly reducing the target’s BREAK gauge, helping trigger Break State faster.
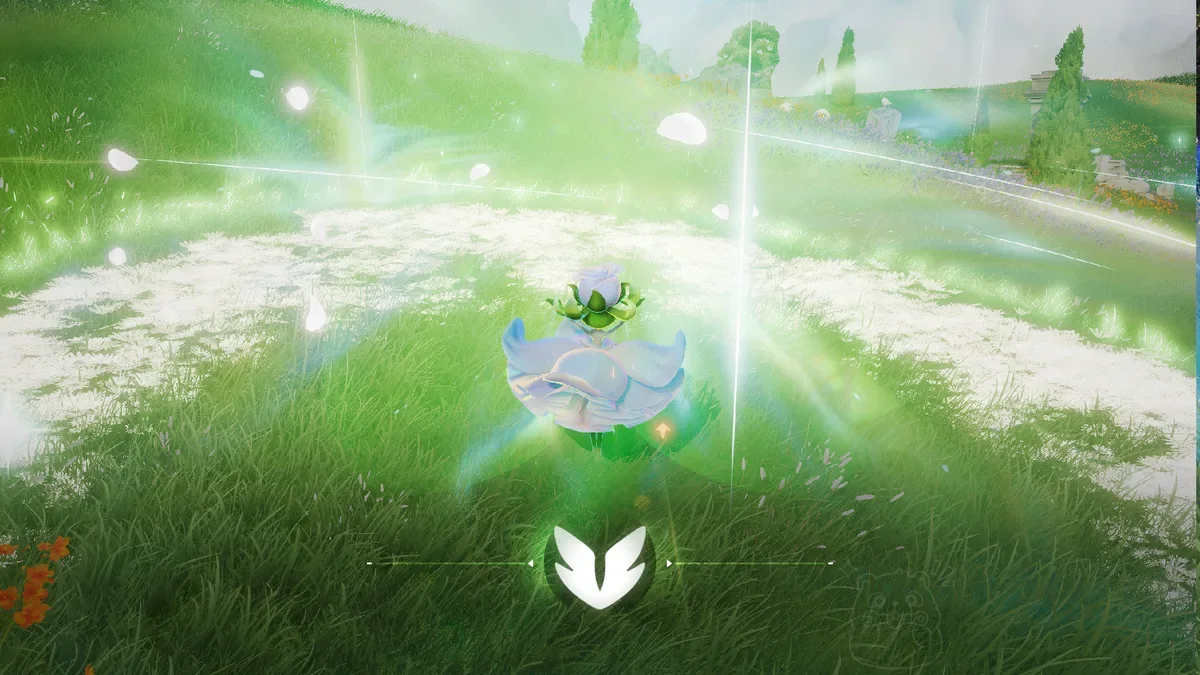
Support: Provides allies with various damage buffs or applies debuffs to targets, improving the party’s combat performance.
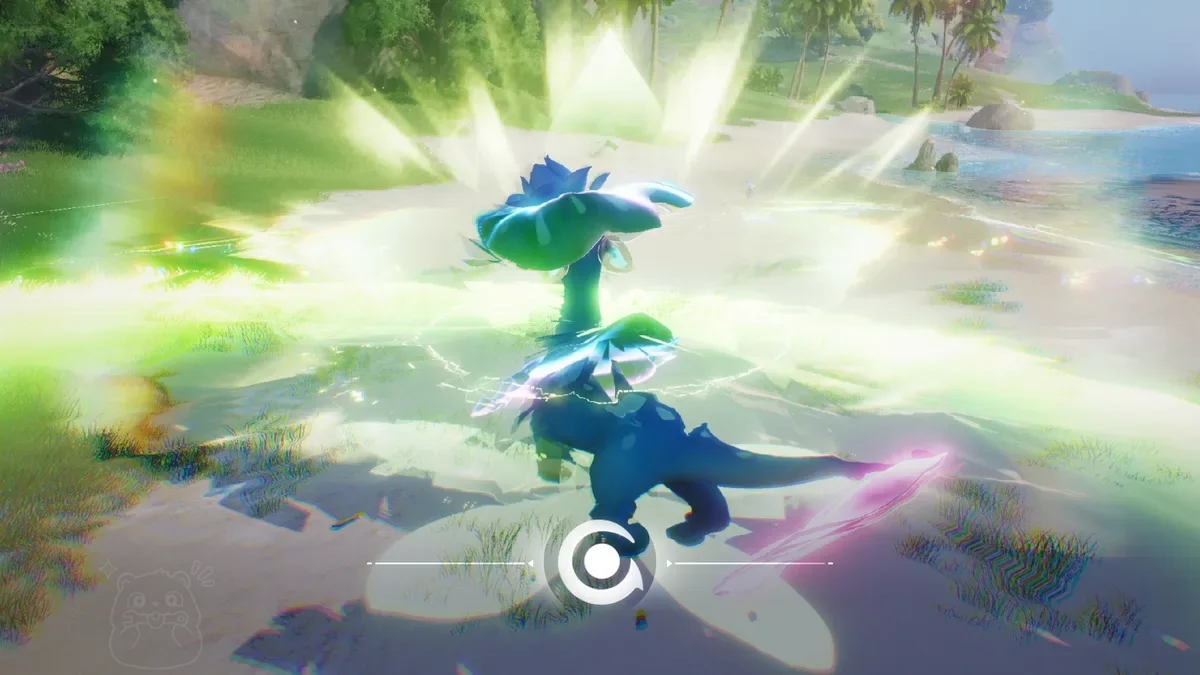
REGEN: Increases the team’s REGEN rate, letting everyone use skills more often.
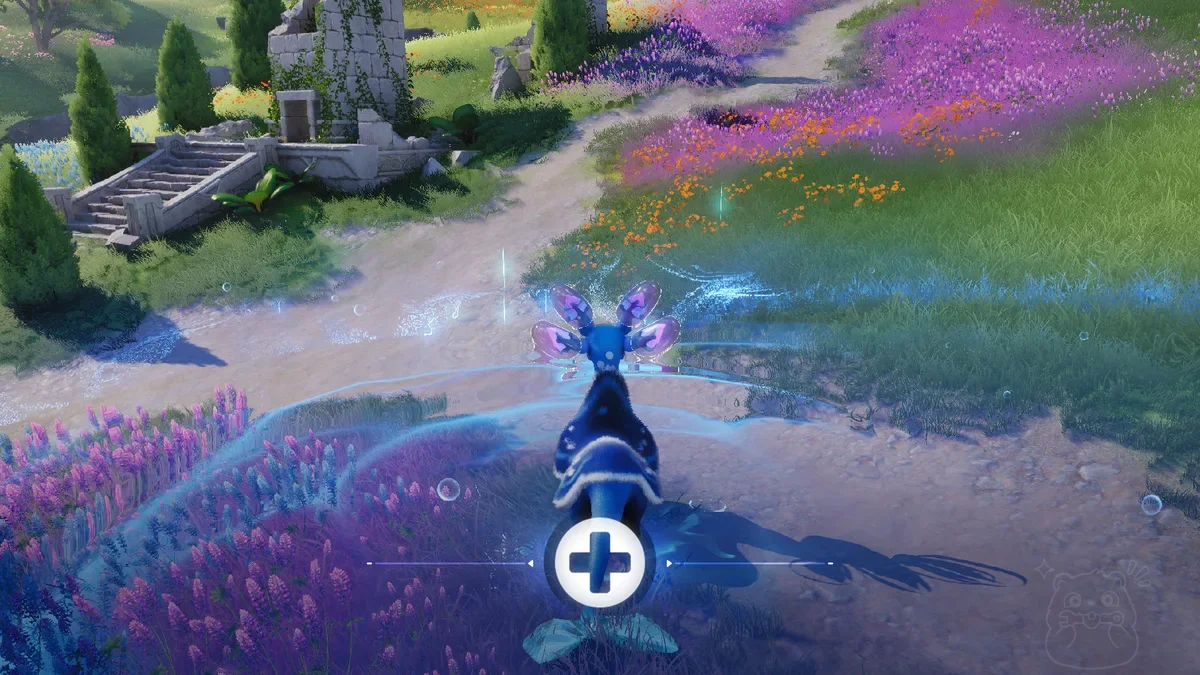
Healing: Excels at restoring HP for the whole party, keeping everyone safer.
Combat · Alpha and Omega
1 page
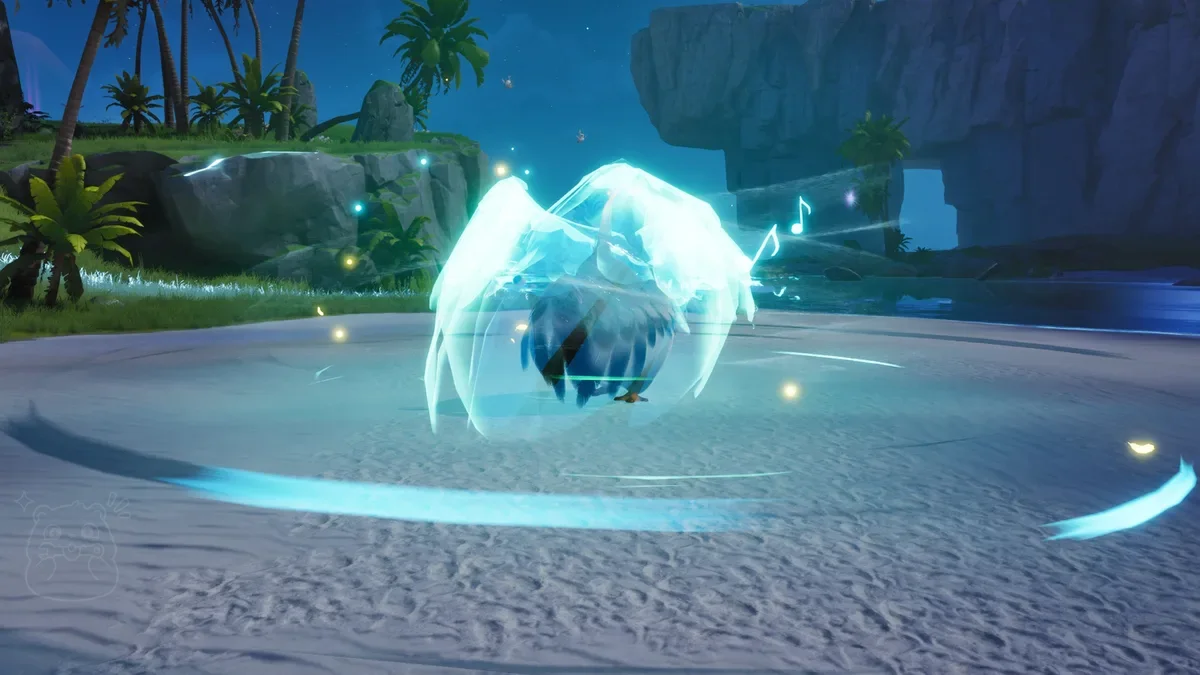
When Alpha Tubster summons its Storm Shield, deal enough damage to break it and force the Alpha into the Weakened state.
Combat · Alpha and Omega
1 page

Every so often, the Alpha Leafy will destroy the lotus leaves on the water’s surface. Releasing Ice element skills can create ice blocks to serve as footholds, giving you more space to move.
Combat · Alpha and Omega
1 page
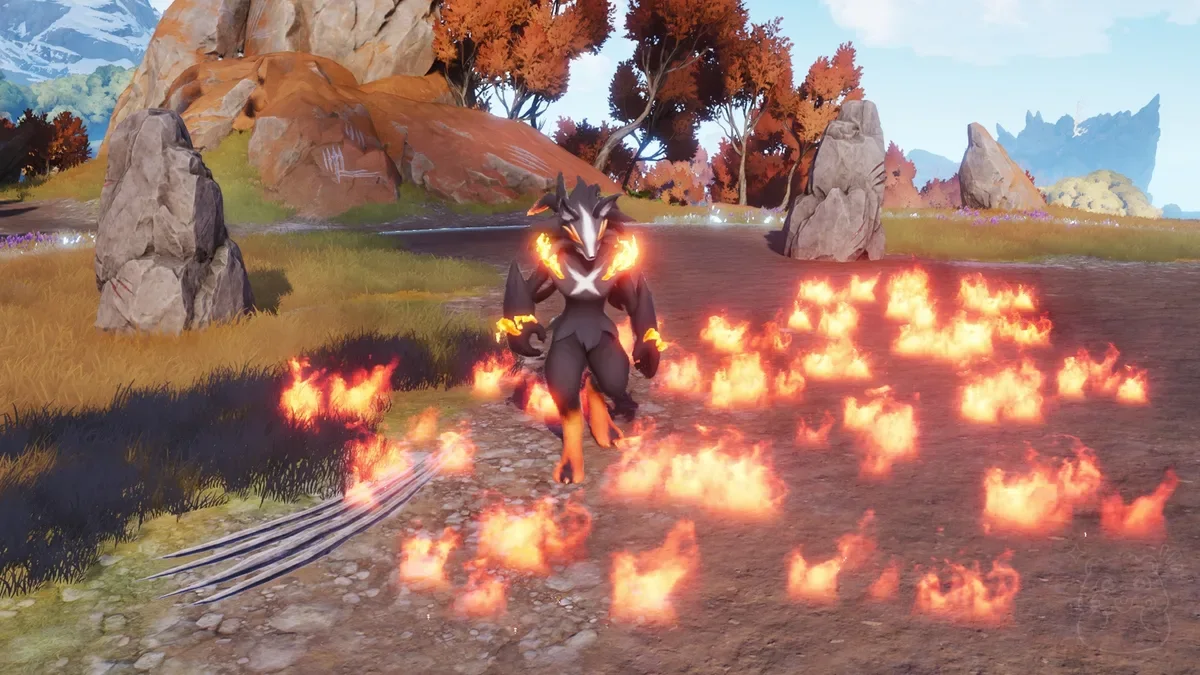
The Alpha Scorchhowl leaves continuously burning flames in the areas it has attacked, and passing through them invites Fire Debuff.
Using Water element skills can quickly put out the fire.
Combat · Alpha and Omega
1 page
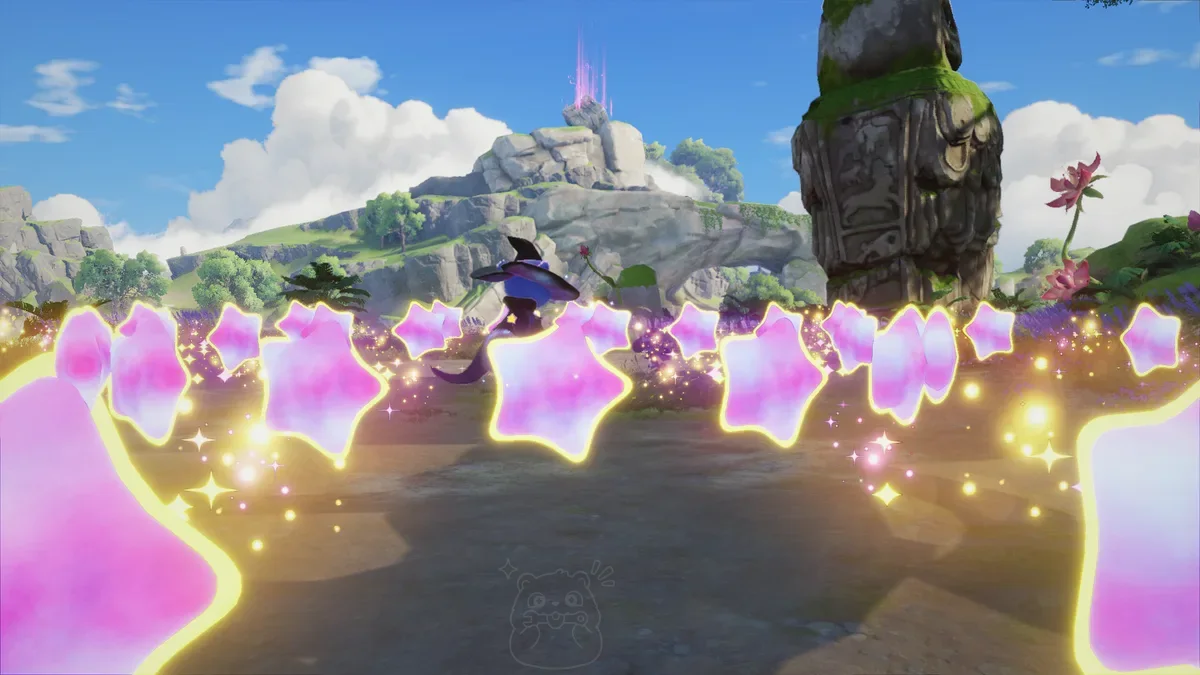
During combat, the Alpha will unleash various Energy Waves. Aniimo with special movement abilities such as Tunnel or Fly can handle and dodge them more easily.
Combat · Alpha and Omega
1 page
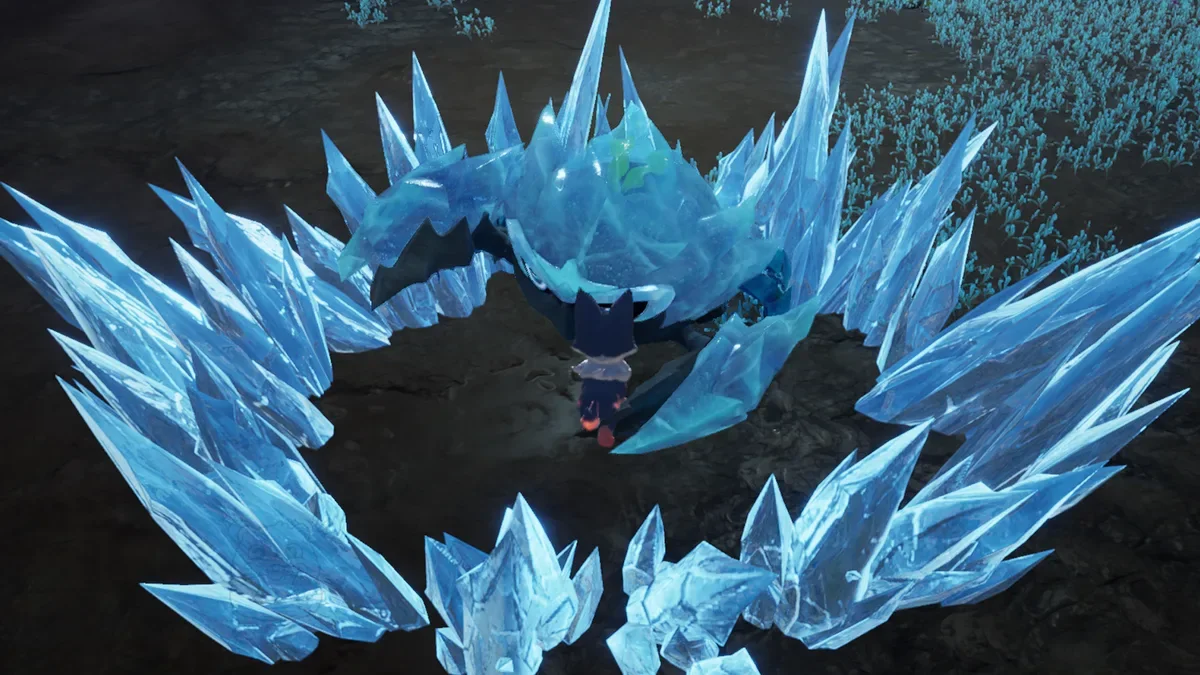
During battle, the Alpha will unleash an Ice Prison to restrict the Pathfinder’s movement. Use Fire skills to destroy it quickly. When the Alpha uses Tunnel, ranged attacks cannot hit, but Pound skills can force it out.
Combat · Alpha and Omega
1 page
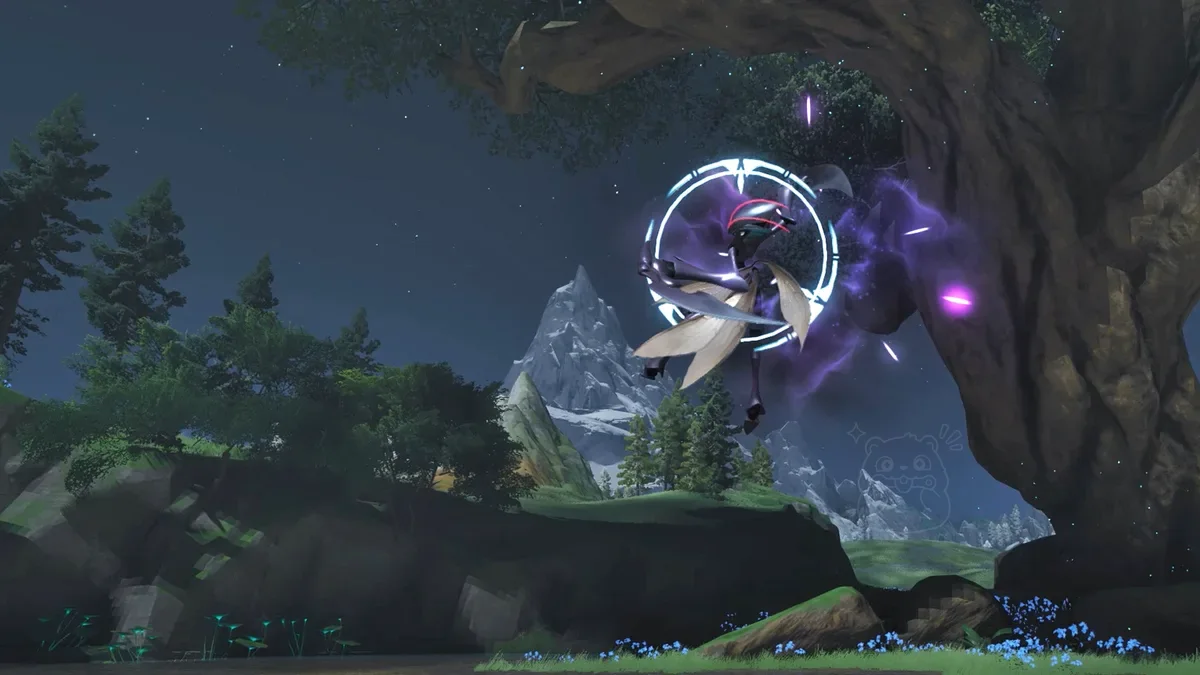
Alpha Ignitis can enter Blade state, greatly increasing its ATK.
Watch its attack timing carefully. Strike when it leaves an opening to make it enter BREAK faster.
Combat · Alpha and Omega
1 page
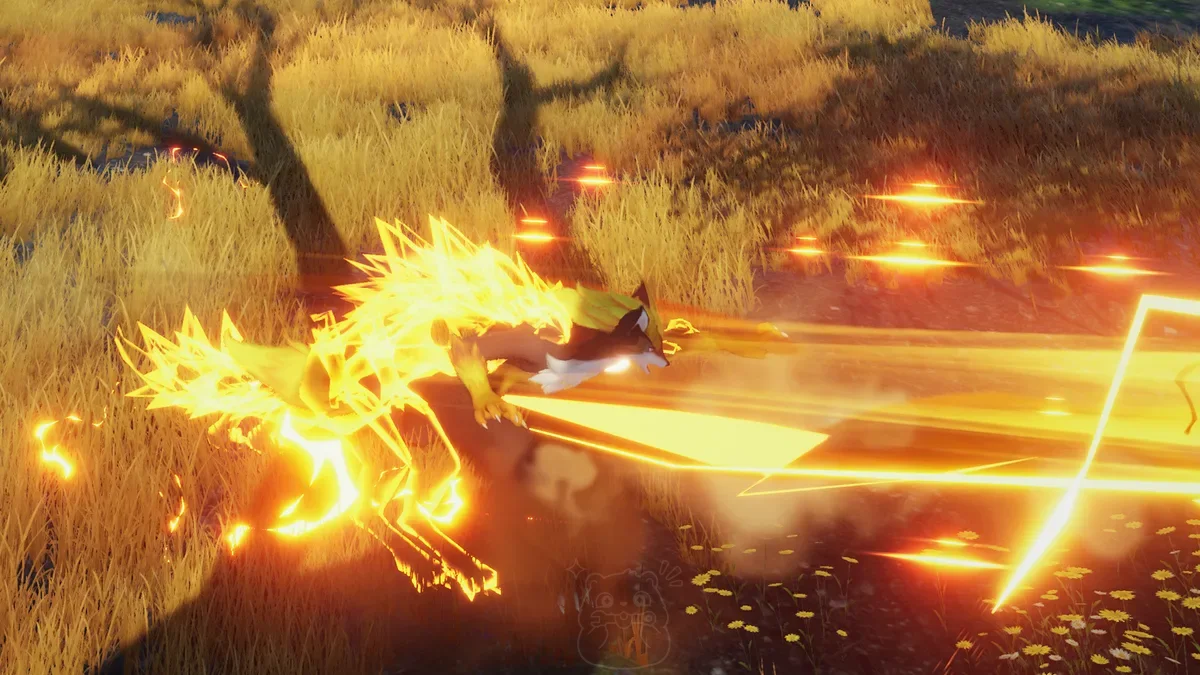
The Blazen Alpha enters Overcharged, frequently dashing toward its target at high speed. Place obstacles in its path for some unexpected results.
Combat · Alpha and Omega
1 page
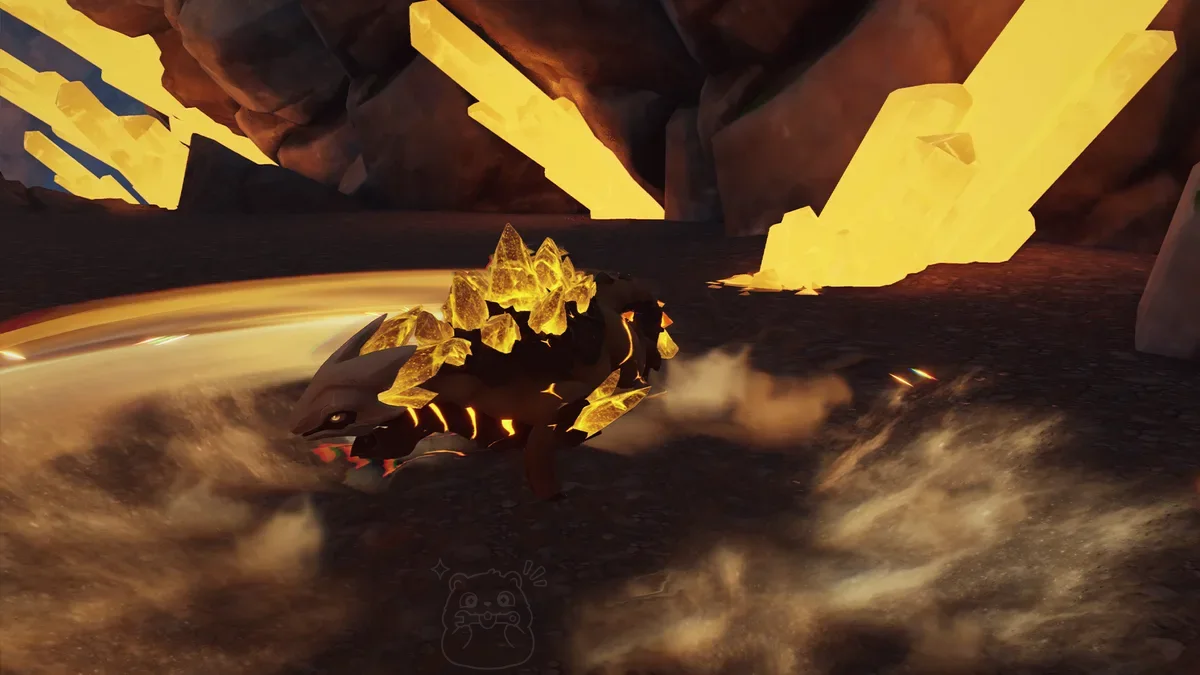
After the Minespine Alpha swings its tail hammer and slams the ground, it unleashes a Seismic Wave. Staying on higher ground lets you avoid this damage. Bringing an Aniimo that can alter terrain makes it easier to handle.
Combat · Alpha and Omega
1 page
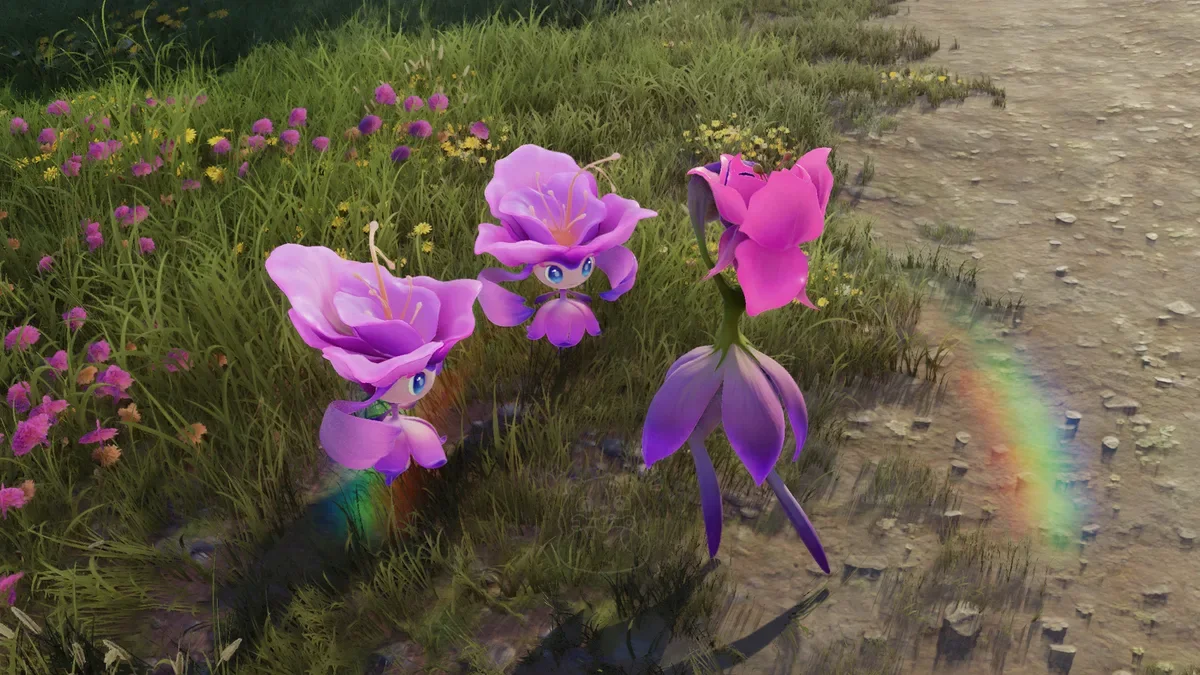
When the Alpha Irisal is in danger, it will summon Iris to restore its HP.
Combat · Alpha and Omega
2 pages

When Alpha Turbo takes flight, try luring it to charge through nearby Nimbi so they get stuck to it.

When Alpha Turbo is carrying too many Nimbi, it will fall from the sky.
Combat · Alpha and Omega
2 pages

The Alpha Luminelle will build up its own charge. After several charge-ups, it becomes Fully Charged. When the Alpha is forced into the Break State, its charge buildup can be cleared.
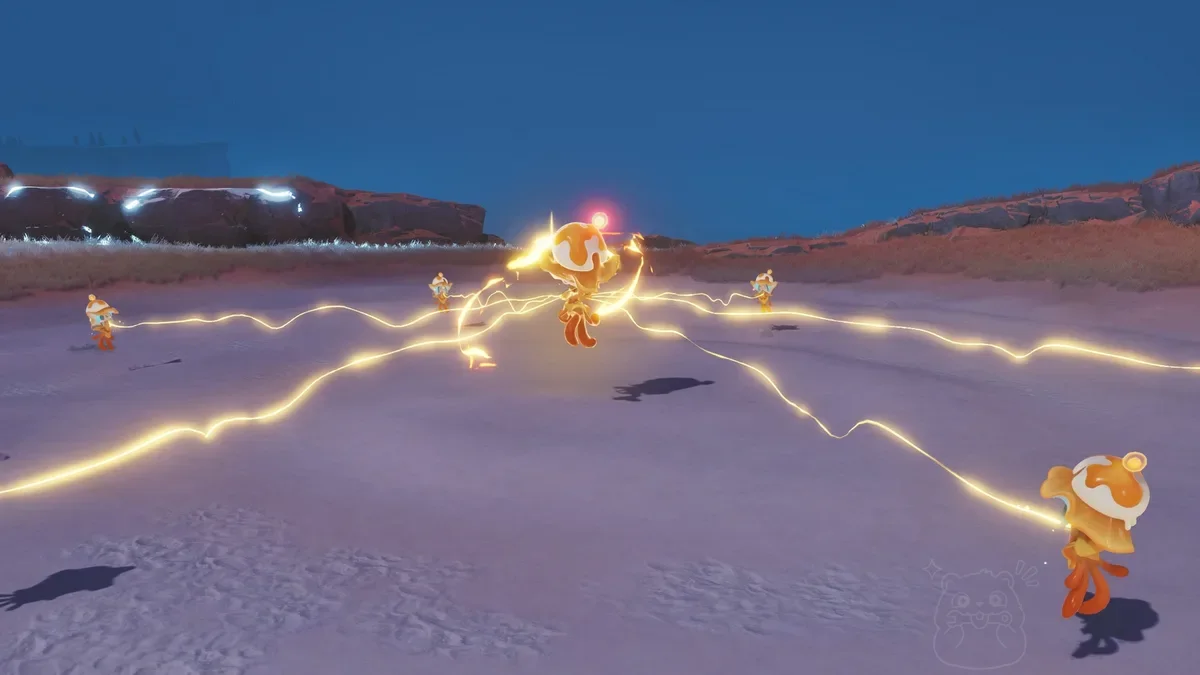
When the Alpha summons Bulbly to charge it, quickly defeat all Bulbly on the field to prevent the Alpha from fully charging and unleashing its Ultimate.
Combat · Alpha and Omega
1 page
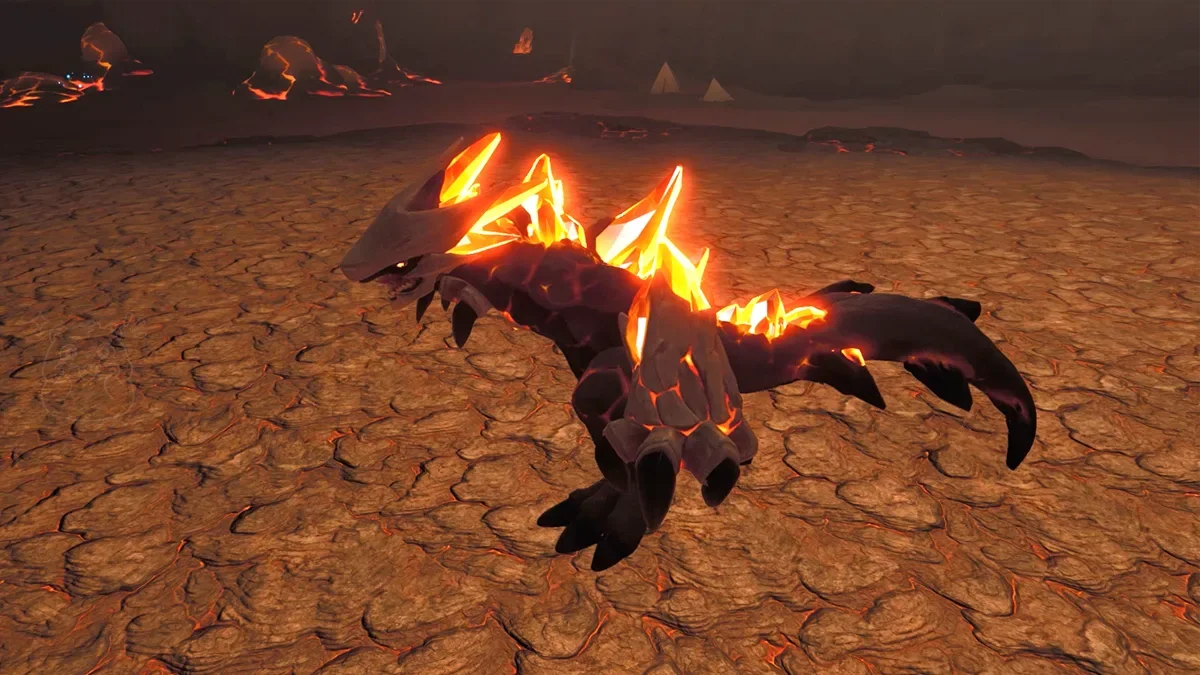
Alpha Magmarex will build up heat. At enough stacks of heat, it enters Overheated state. Triggering BREAK can remove its Overheated state.
Combat · Alpha and Omega
1 page
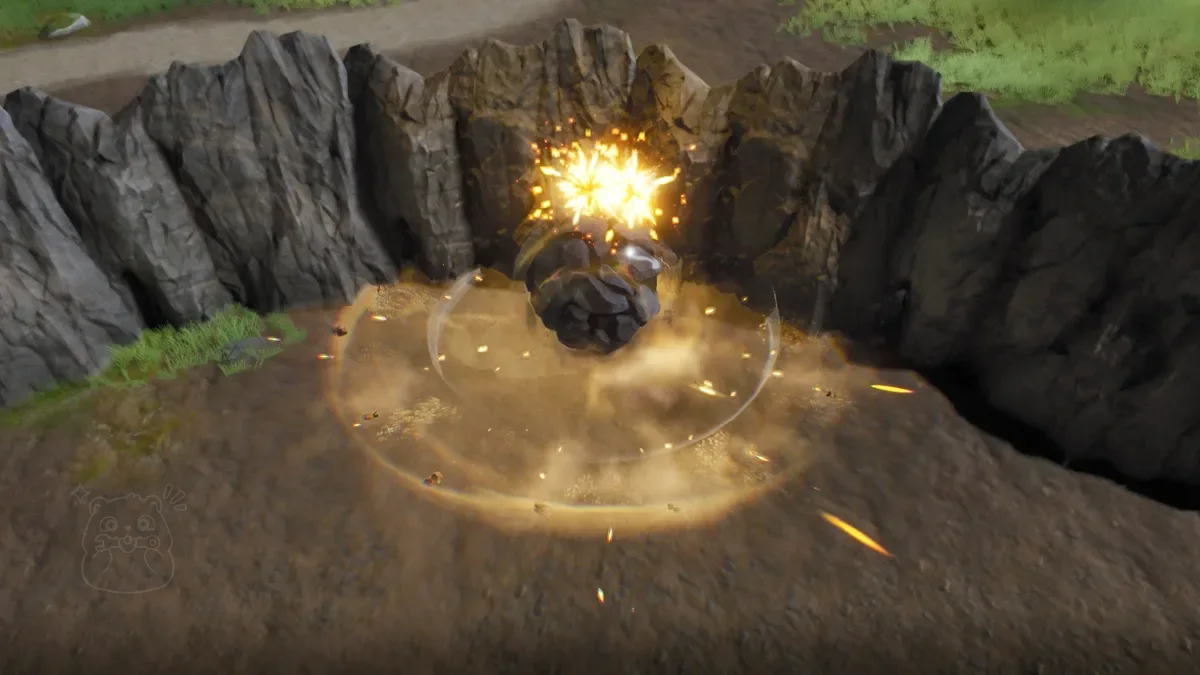
During battle, Bouldus creates rock walls to trap Pathfinders, then rolls around inside them. The walls deal heavy damage to whoever touches them, so stay clear.
Combat · Alpha and Omega
1 page
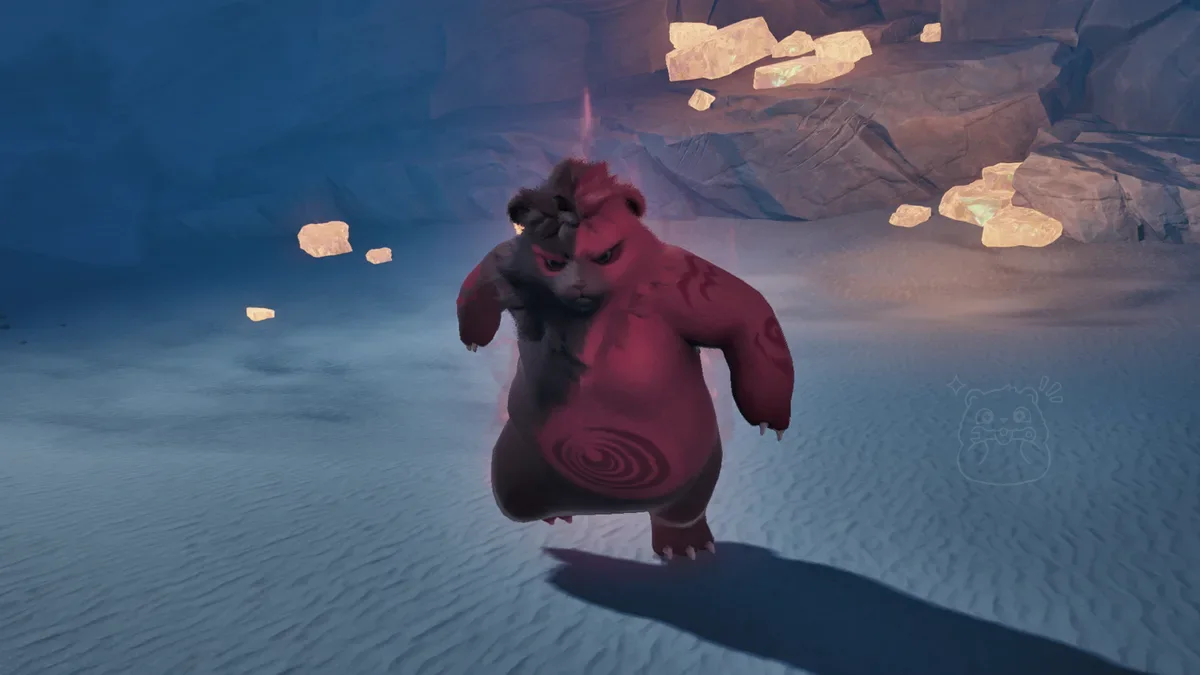
Each time Grizbo misses an attack, it gains 1 stack of Rage. Above 5 stacks, it becomes Enraged for 20s, greatly increasing its damage and attack frequency.
Combat · Alpha and Omega
1 page
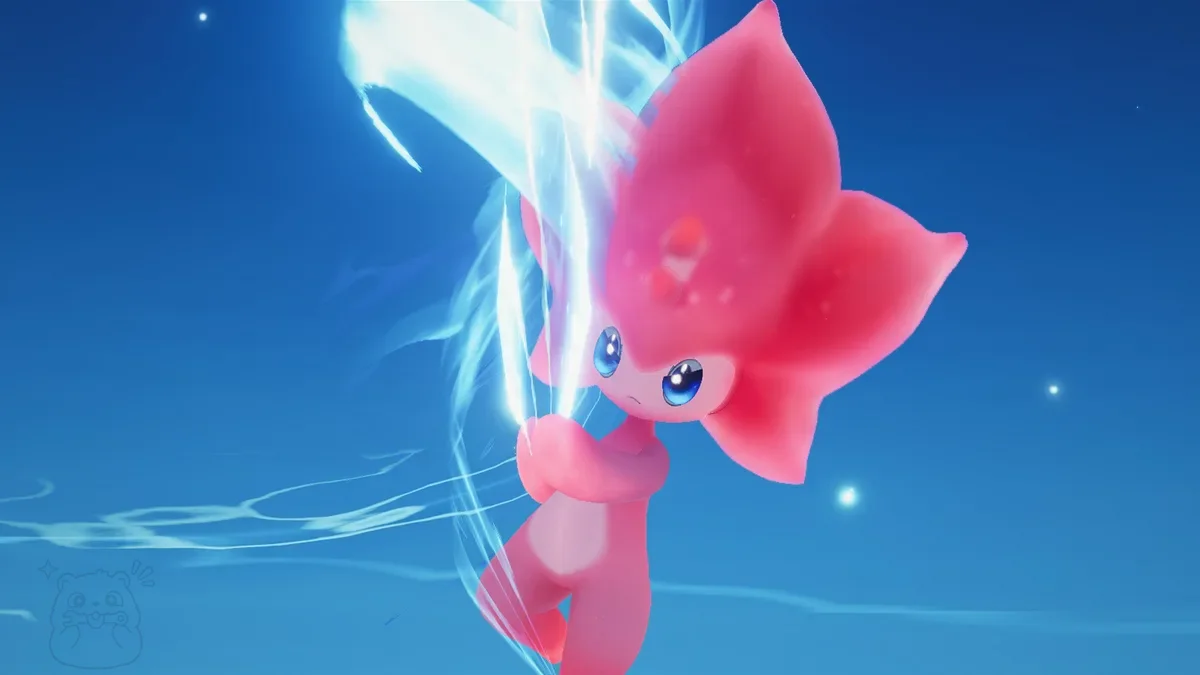
During battle, Sherro will periodically gather Water to form a giant sword and unleash a wide-range water wave attack. Be sure to dodge it. Having an Aniimo with Element Resistance take Sherro’s damage is also effective.
Combat · Alpha and Omega
2 pages
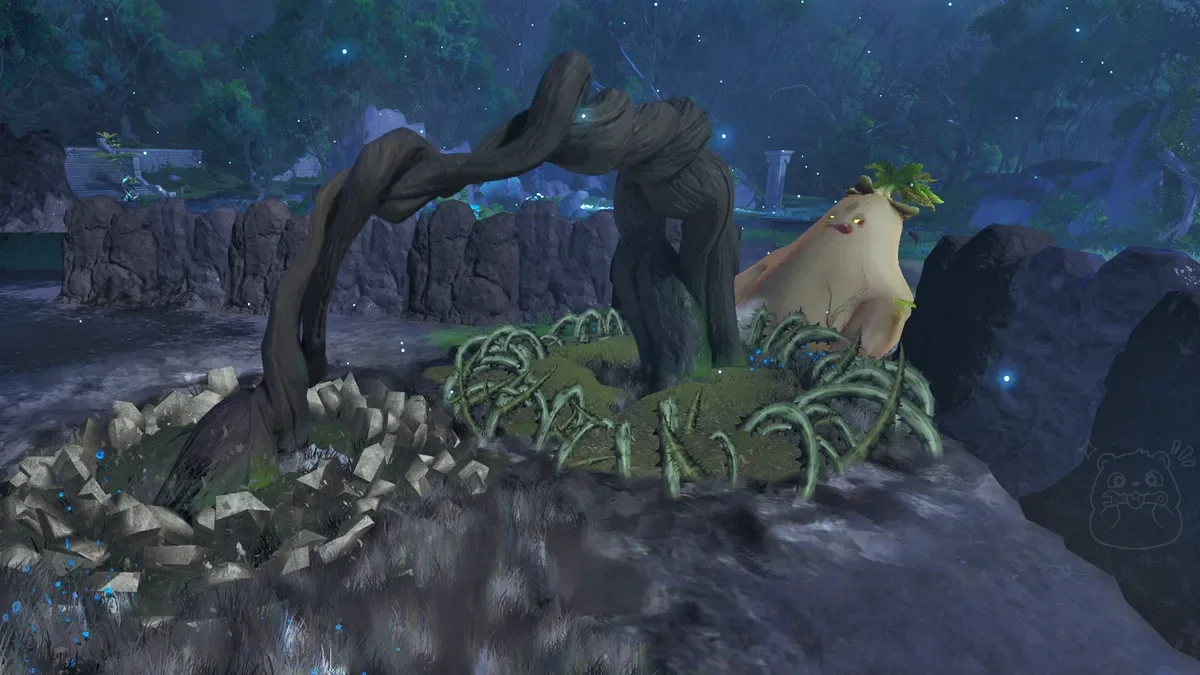
During battle, Tuckin will create a Giant Vine Hammer to attack the Pathfinder. Strike at the right moment to break the hammer and force Tuckin into the Break State. Fire skills are more effective.
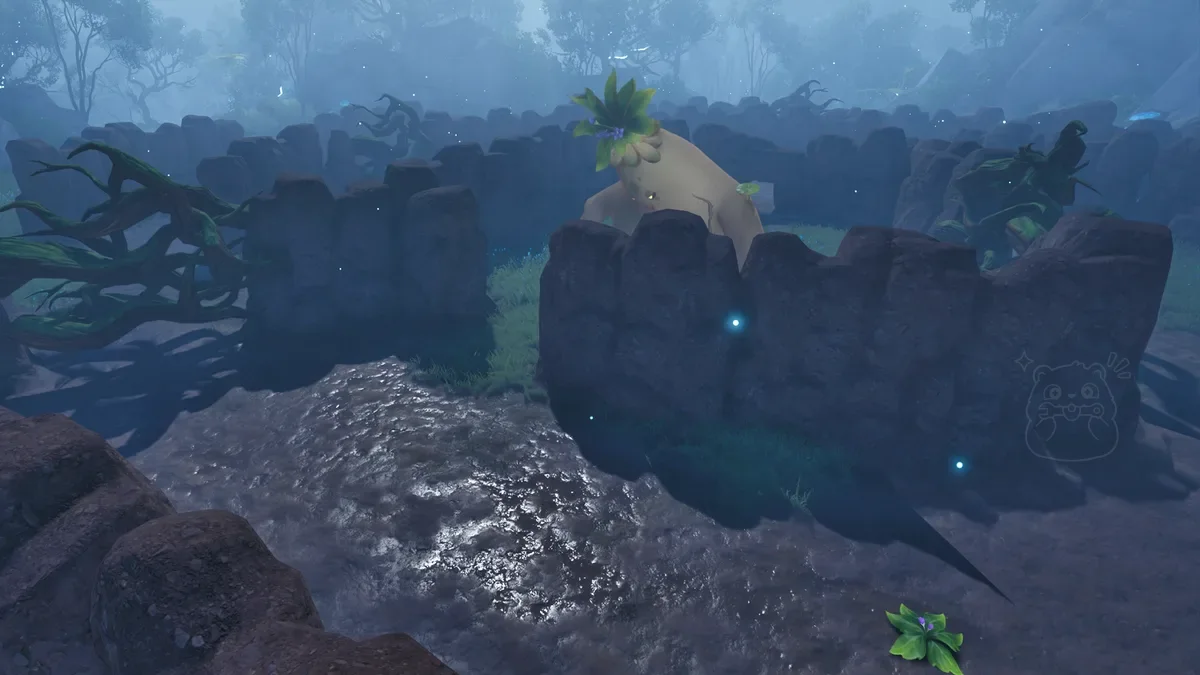
When Tuckin hides in the maze, burning away the vines or taking the narrow passage can get you to Tuckin’s location faster.
Combat · Together
3 pages
Operation: Egg Heist is a PvP mode with up to six parties!
In PvP, participating Pathfinders’ Aniimo attributes are balanced. Attribute bonuses from equipped Held Items and their Runes do not take effect–only Held Item effects apply. (Item quality is ignored, and effects default to Legendary quality.)
Teams land at different landing points across the island. Gather as many supplies and eggs as you can, then make your way to your Egg Boat on the other side of the map to evacuate!
Eggs found during a match can be delivered to the Egg Boat, or sent through a Teleporter. Watch out. Enemy players may try to steal the egg while it’s being teleported!
Combat · Together
3 pages
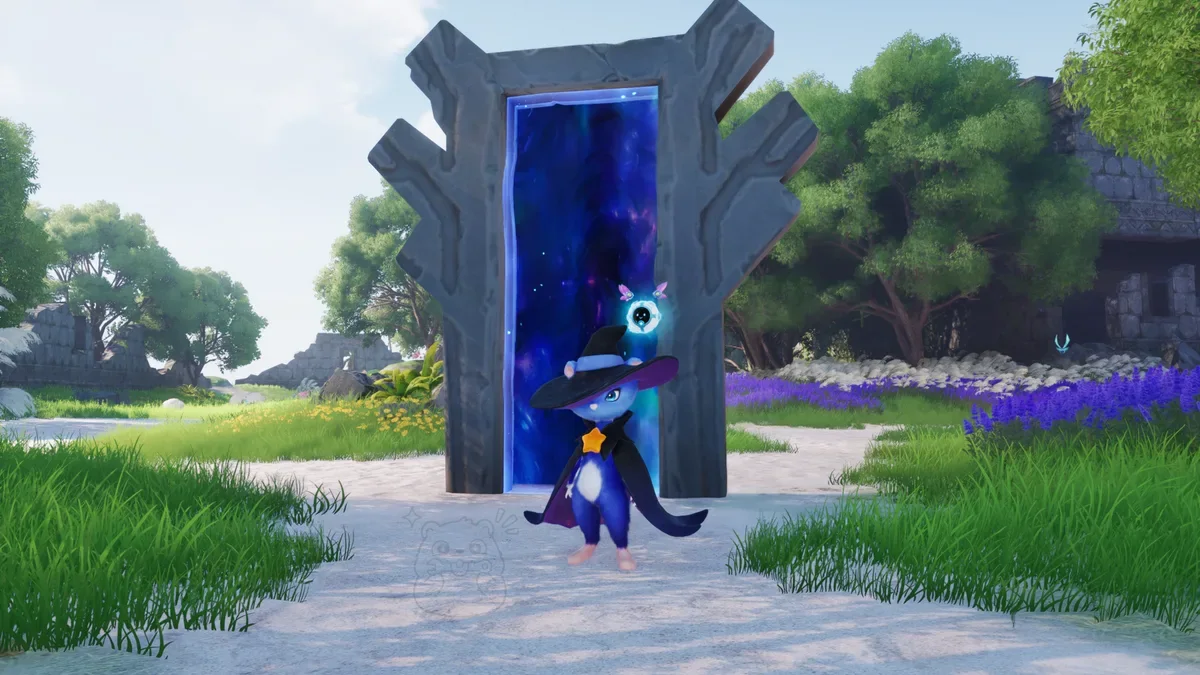
Operation: Egg Heist Team Mode is a PvE mode. After your team lands on the lost island, collect supplies and find the entrance to the Lost Sanctum as quickly as possible!
Open the map to see the Sanctum entrance.
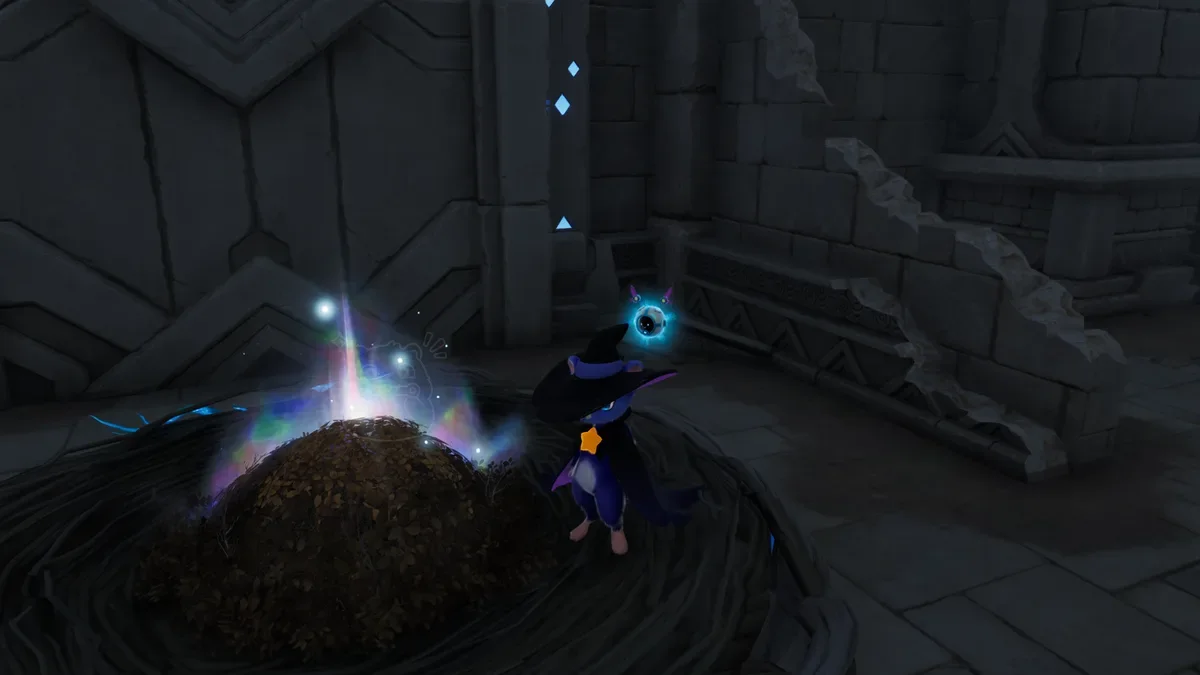
Explore the Sanctum, avoid traps and monsters, and find the Egg Nest. You may dig up rare eggs.
Twine with the egg, guide it to the exit, then return to the outer island and deliver it to the Egg Boat.
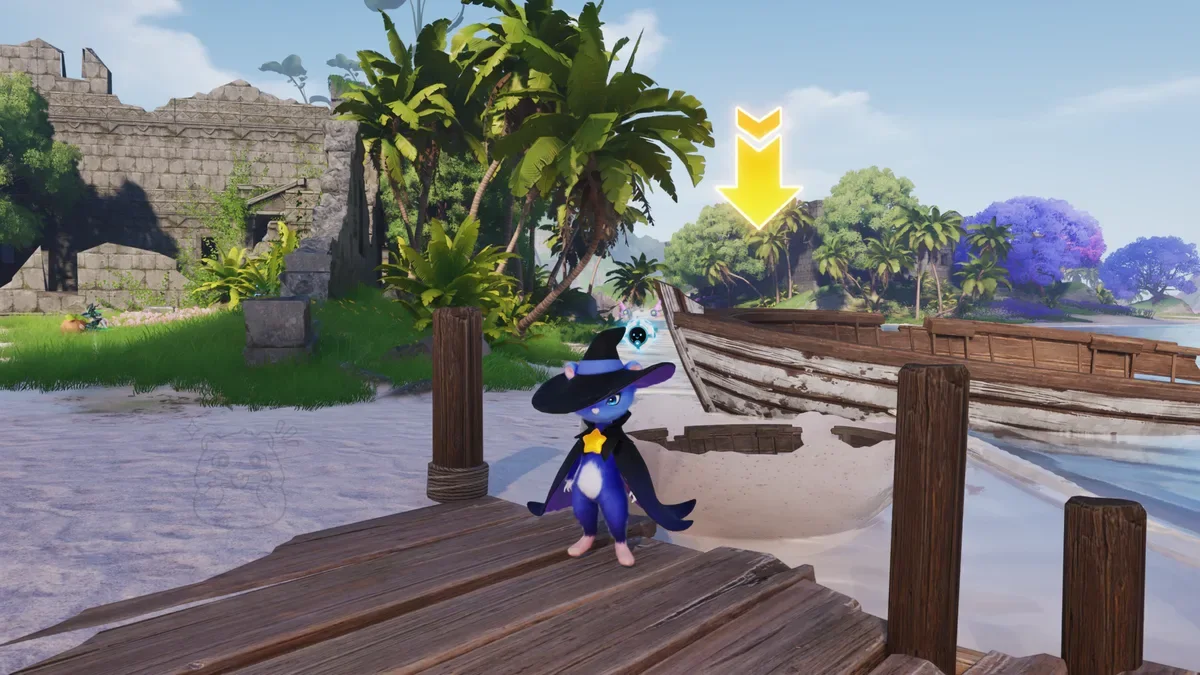
Once you’ve collected enough valuable ancient relics or successfully delivered eggs, the evacuation objective is complete. You can board the Egg Boat and leave safely!
Combat · Together
4 pages
Before exploring, equip a backpack. A good backpack lets you bring back more ancient relics!
Equip your BINI partner with the right Unit and Energy Amplifier for a major attribute boost! Higher-grade equipment can also hold chips, giving you more options in battle!
Sell the ancient relics you bring back from the island to earn lots of Eggshell Coins. Spend them in the Egg Heist Shop to buy all kinds of goods!
Spend Eggshell Coins and ancient relics found during exploration to unlock talents, making your island explorations smoother!
Keep in mind Egg Heist talents reset each season.
Combat · Together
1 page
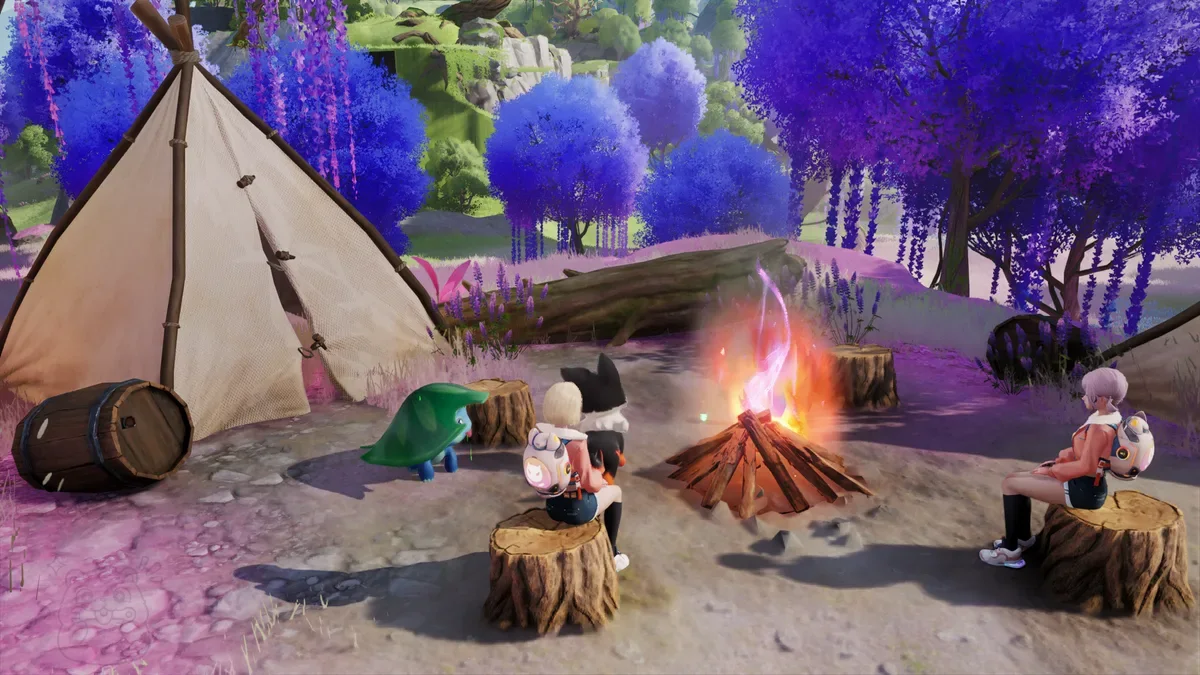
Bonfires scattered across the Idyll continent burn with Vein energy–approach one to steadily restore your Aniimo’s HP, or perhaps meet fellow Pathfinders for a rest and to share natural resources!
Combat · Together
2 pages
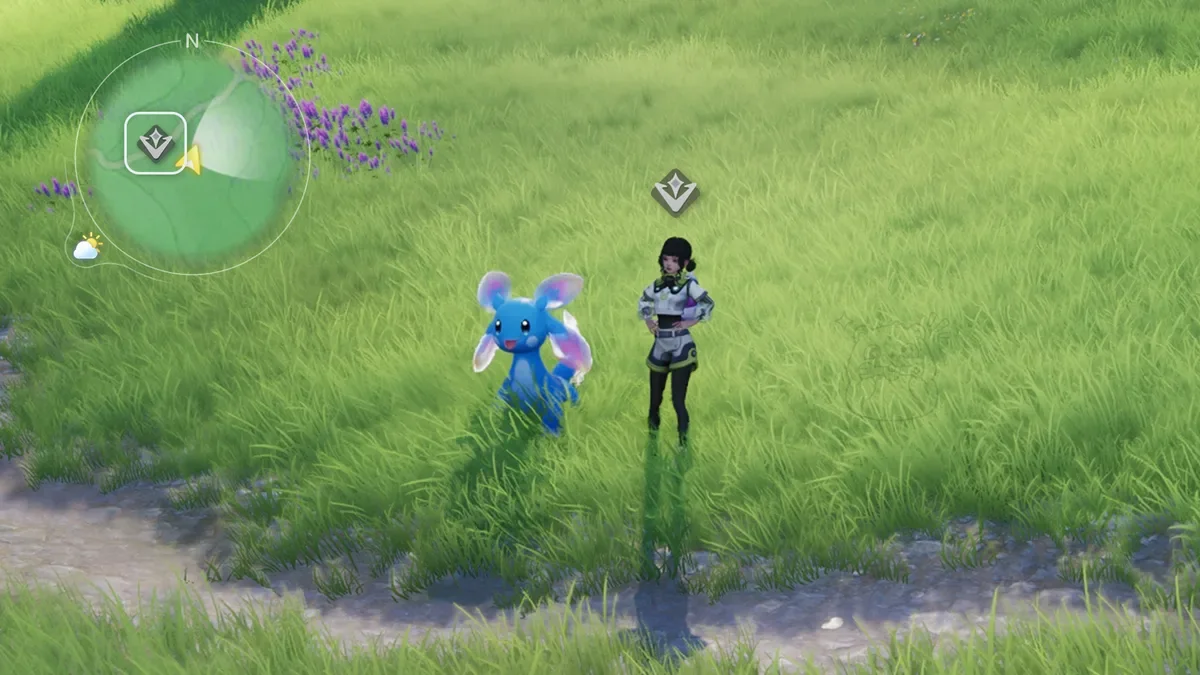
Some Pathfinders from the institute can be found across Idyll. Challenge them to Twine Mode battles and defeat them to earn great rewards.

Some elite Pathfinders can initiate Badge Challenges. These Pathfinders possess extraordinary Aniimo battle skills, so do your best to defeat them and earn the corresponding Challenge Badges.
Combat · Assessments
1 page
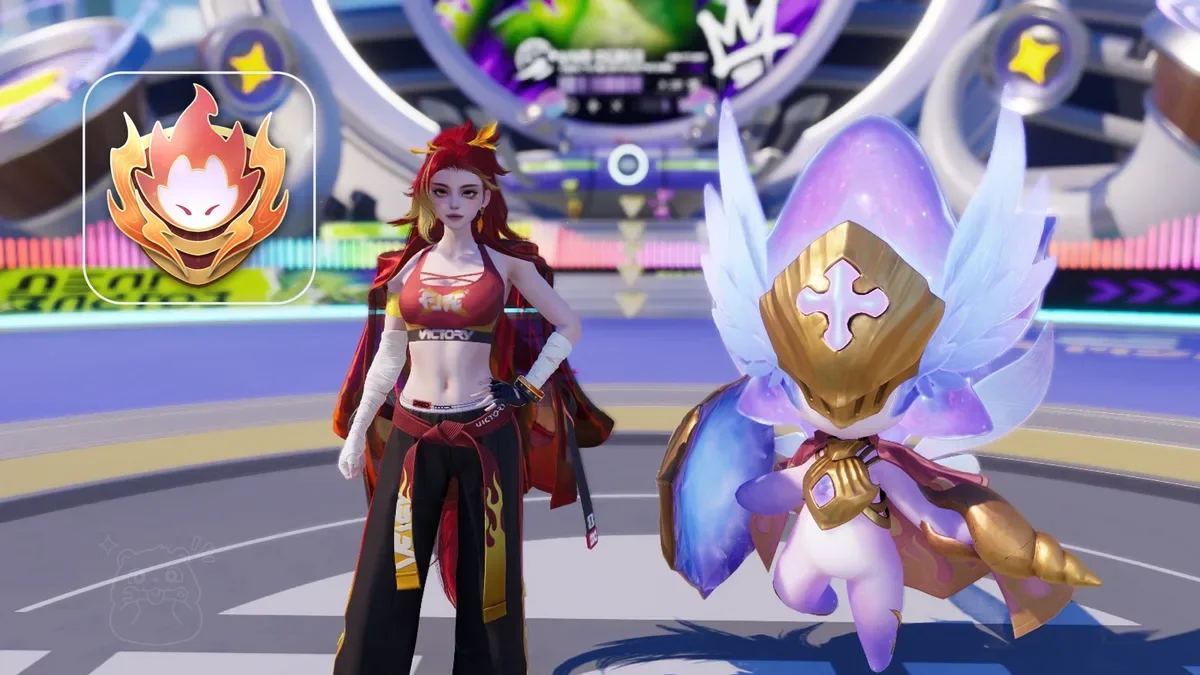
Lita will send out Aniimo of various elements in battle, so making good use of elemental counters is the key to victory.
Combat · Assessments
1 page

During battle, Irisal quickly builds Dance Power by attacking Pathfinders while on Turf. When Dance Power reaches its limit, Irisal enters the Dance Power Unleashed state. In this state, it can cast any non-Ultimate skill at no cost, then exits Dance Power Unleashed.
Combat · Assessments
1 page
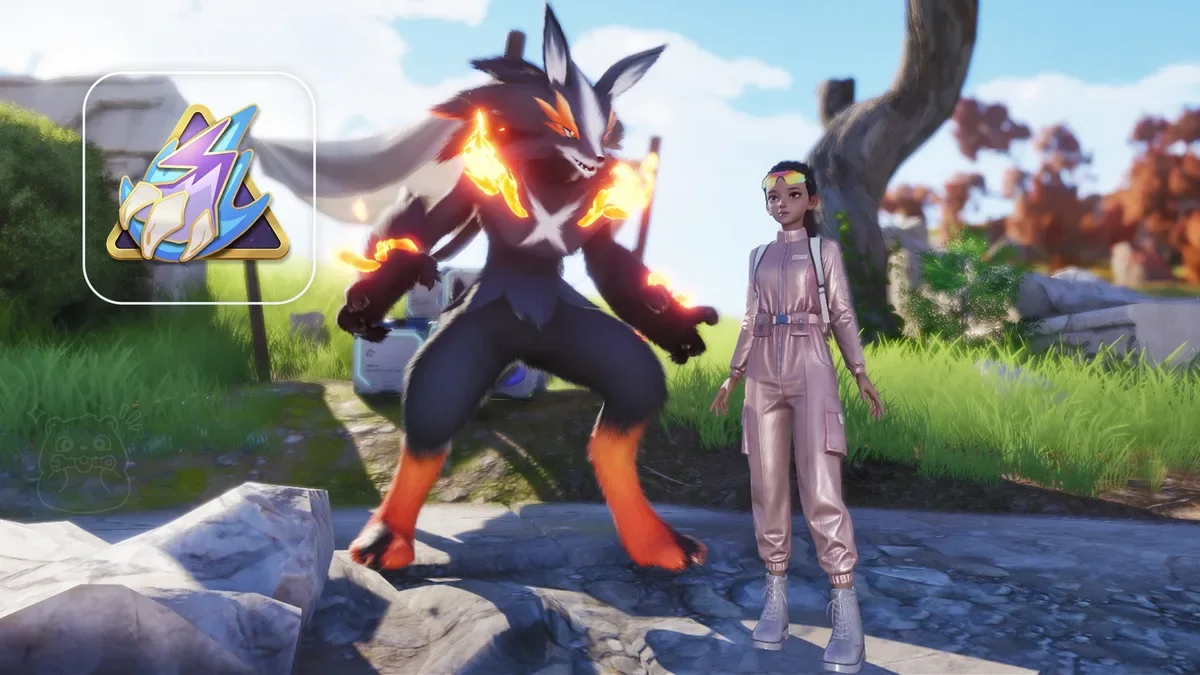
During battle, Magmarex continually applies a Fire Debuff to nearby Pathfinders and stuns distant ones. When it inflicts Break on a Pathfinder, it switches to Scorchhowl and uses Burn Breaker.
Combat · Assessments
1 page
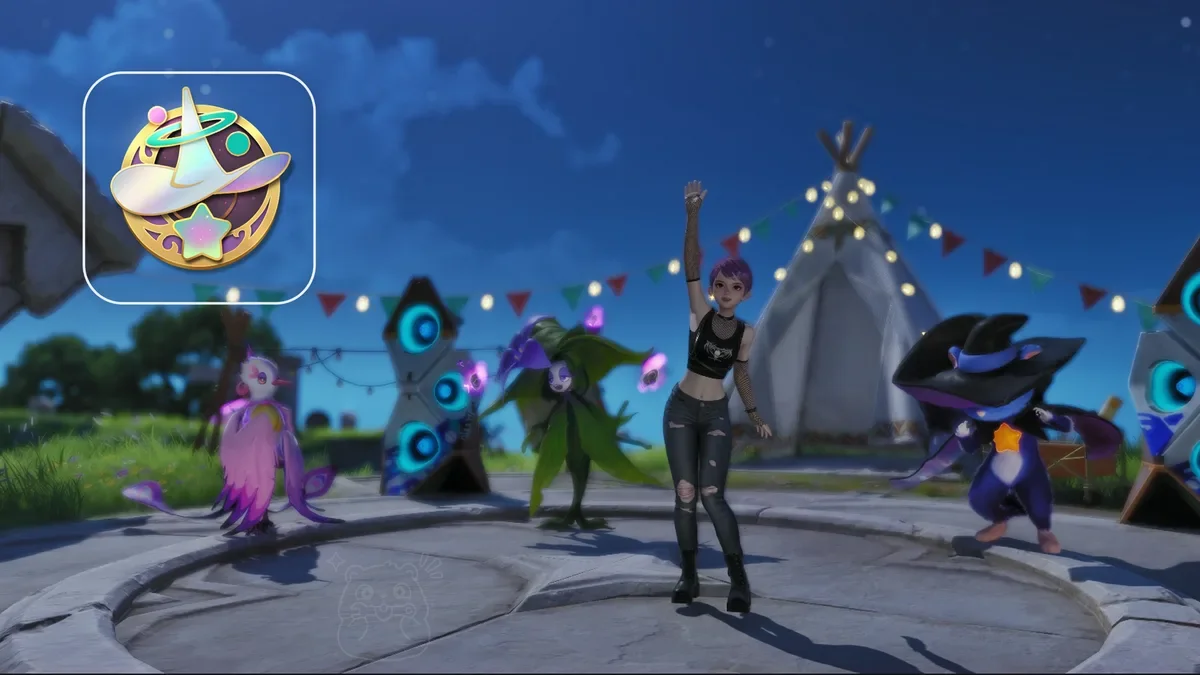
Fragrancier’s [Secret Fragrance] mark increases Dark basic attack damage and can deal even more damage when paired with Stellarys’s trait. Hexxin’s skill applies [Curse]–basic attacks that hit targets with [Curse] restore more EP.
Combat · Assessments
1 page

Thornblade’s skills increase its own basic attack damage and build Melloblum’s [Rose Mark], reducing Melloblum’s skill cost. Watch out for Thornblade’s counter when casting skills.
Combat · Assessments
1 page
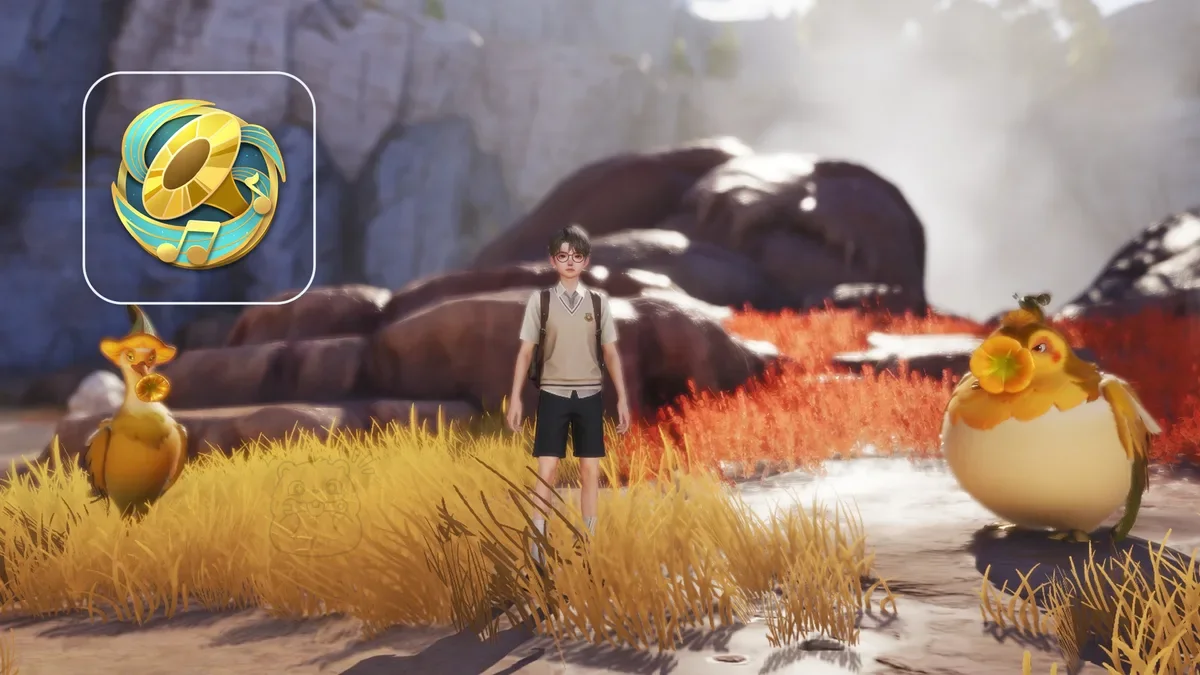
Chirpi plays [Waltz], Tromber plays [March], and Tubster plays [Concerto] when triggering BREAK. Collect all three Movements to greatly enhance Cornet’s skill!
Combat · Assessments
1 page

Erlath’s bubble domain and the puddles created by Piopiota let Sherro’s enhanced skills deal higher damage.